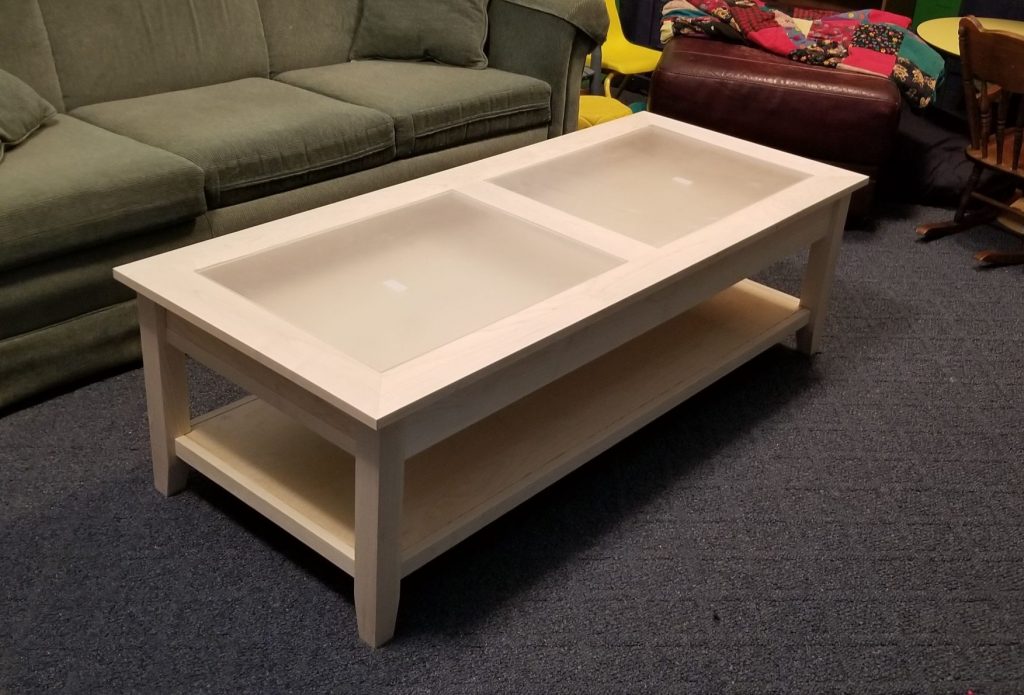
My daughter asked for a coffee table that would allow her to slide some antique printer typesetting trays under a display top. So, when they ask, I deliver. The complexity is that I live in Michigan and she is in Florida. So, I had to build it so I could knock it down and she can stain, finish and assemble.
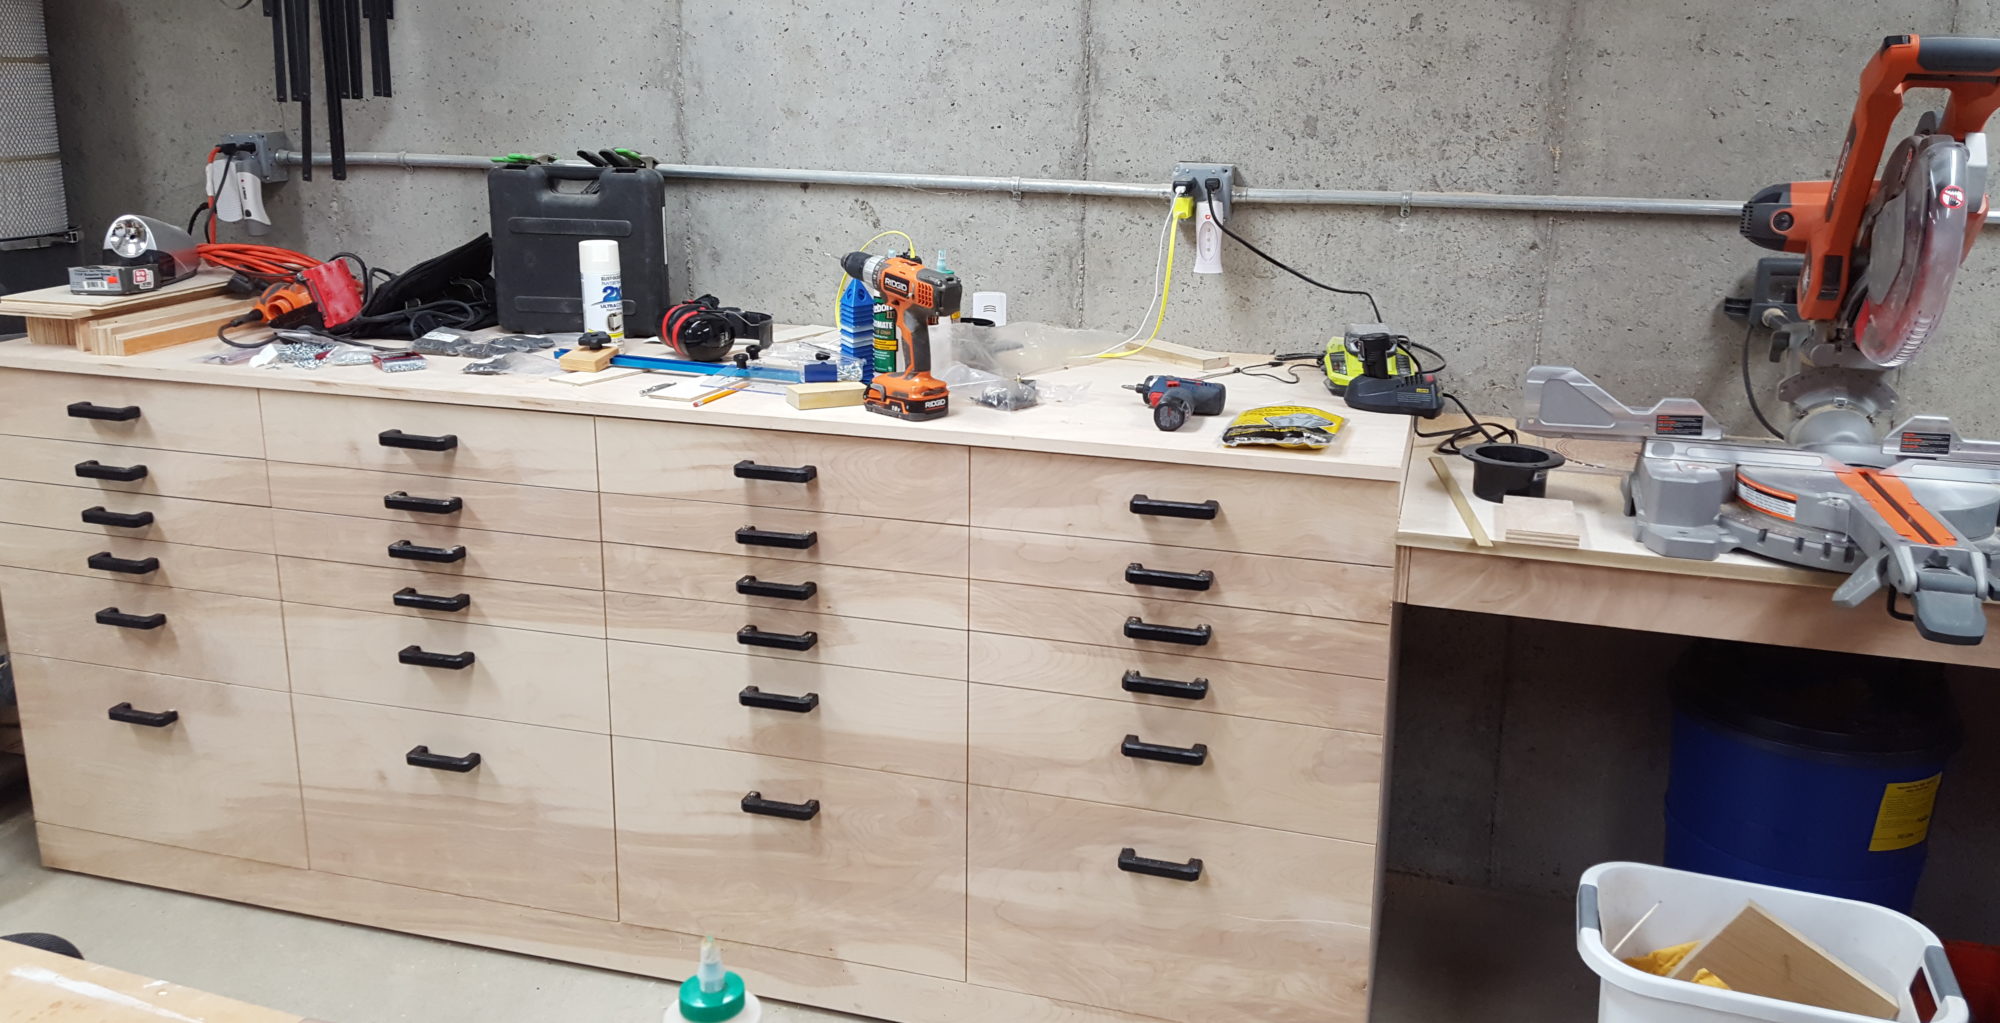
I did not take a lot of pictures when milling the maple rough stock that I used for this. I’ll include all the parts and dimensions below the assembly instructions. This page is mostly for her, so she can reassemble.
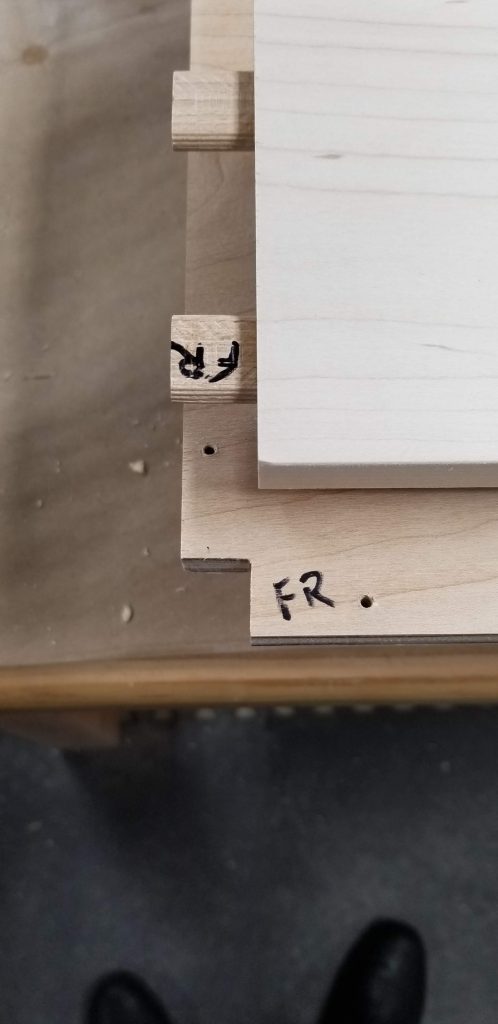
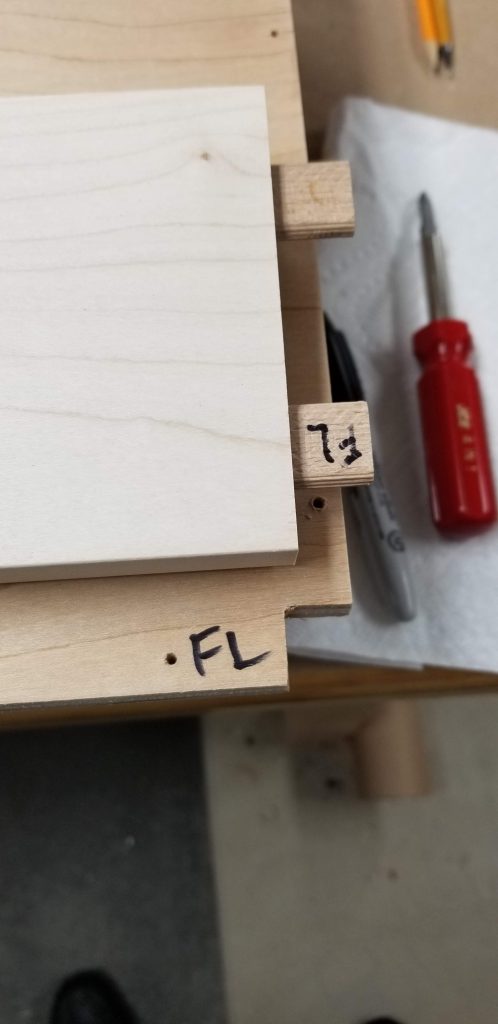
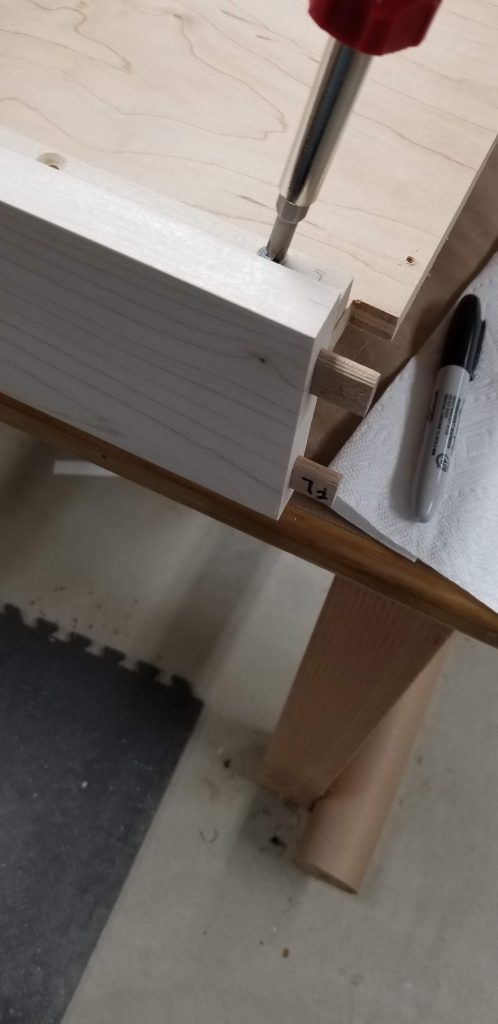
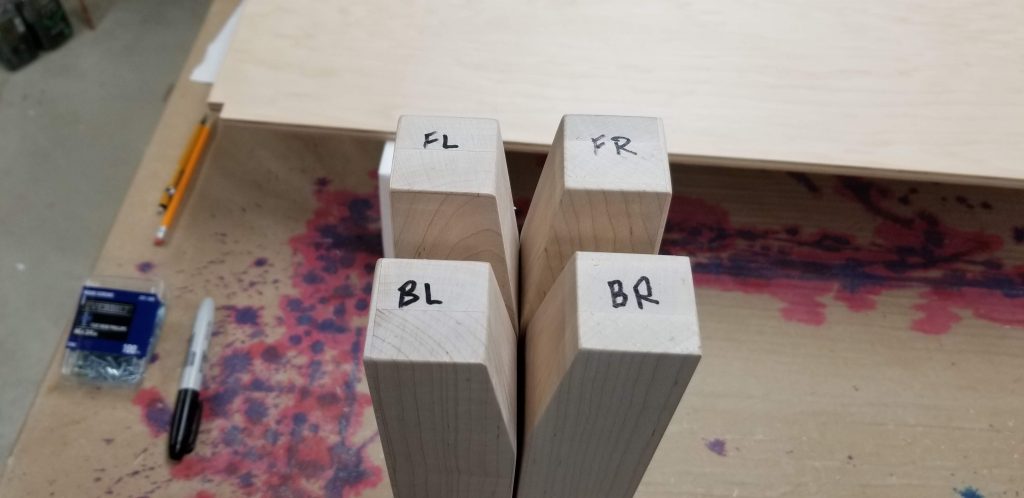
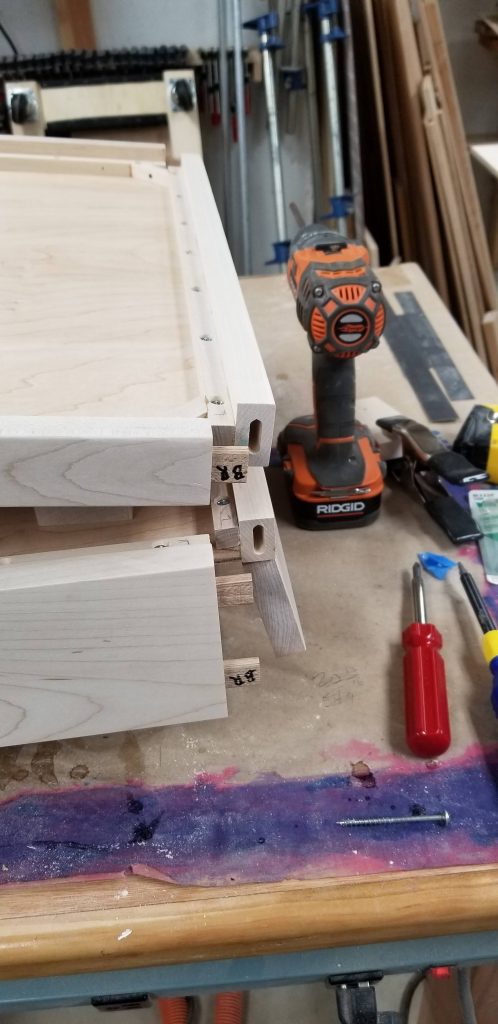
Starting with the legs, stand them upside-down on your work surface. I labeled each joint with FR, BR, FL, and BL. They were meant to mean Front Right, Back Right, Front Left and Back Left. And they do, when the table is right-side up. But, we’re building it upside down, so the code is broken. Just match letters as we go.
Take the upper shelf, lay it upside-down on some blocks to lift it up about 6 inches. Some of the foam blocks I used in shipping will work. Align the long rails labeled FR/FL and BR/BL on the matching side of the shelf and start installing screws.
Do the same thing with the end door pieces. Be sure to tighten down all the screws, but do not over tighten and strip the holes.
Now we install two of the legs. Remove the support blocks from under the shelf and let the upper shelf assembly sit upside-down on the floor. For each corner, locate and set in place the matching leg.
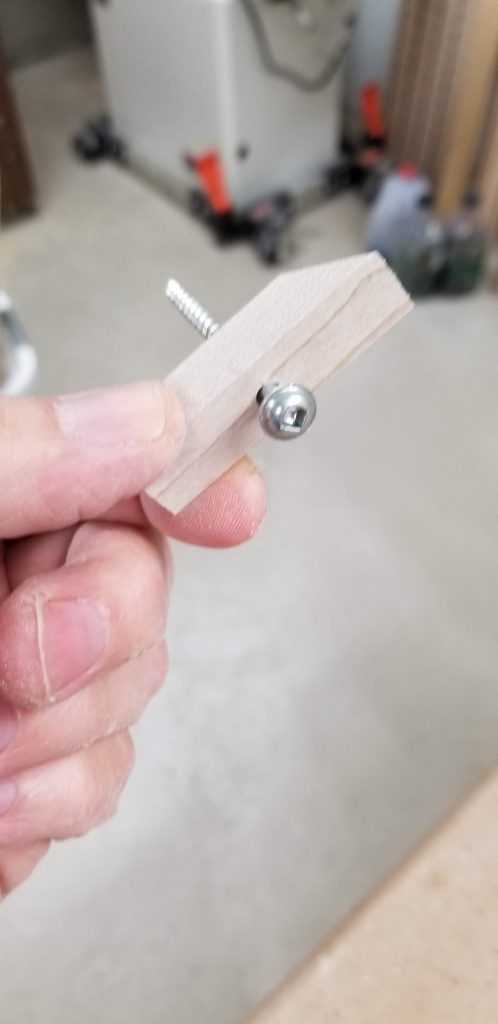
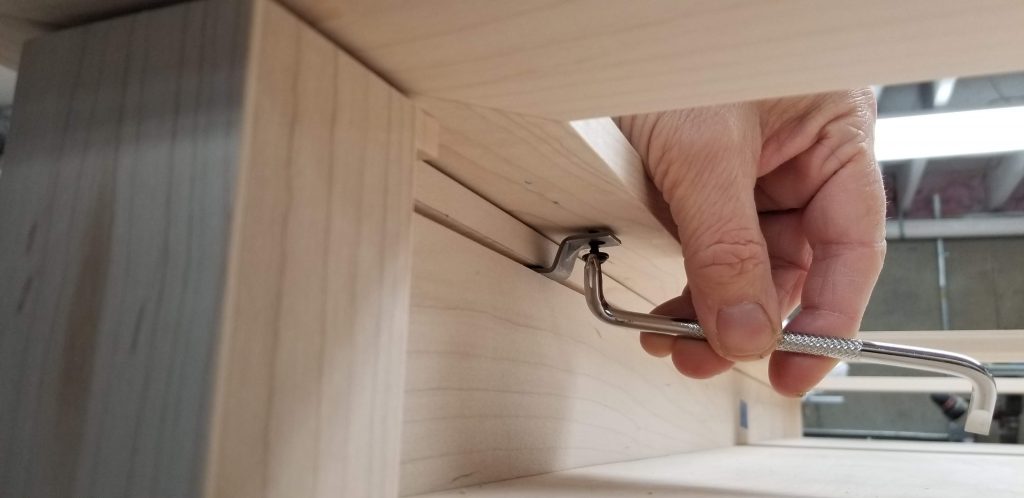
Place one of the locking braces in each corner and feed one long screw through the hole and into the matching hole in the leg. This screw needs a #2 square head drive (included). Fully screw in FL and BL. The other legs will go on in a moment.
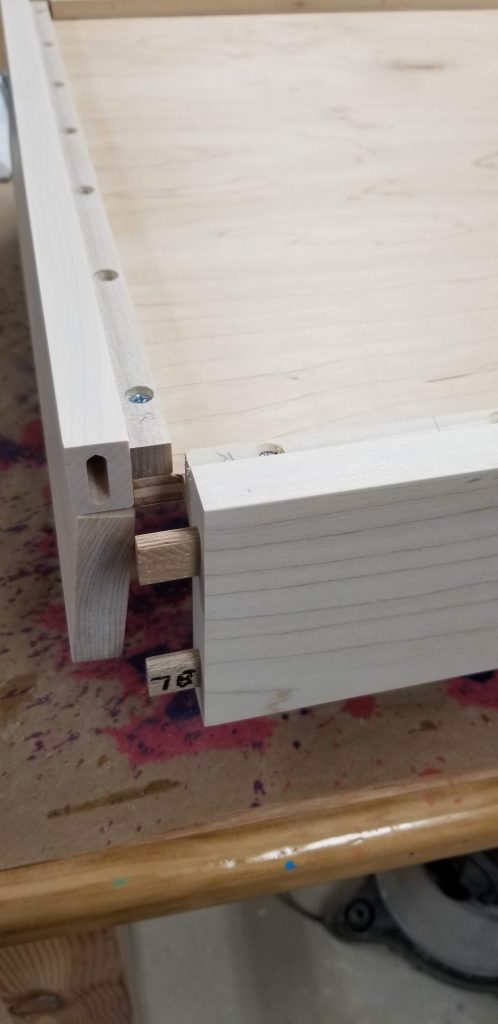
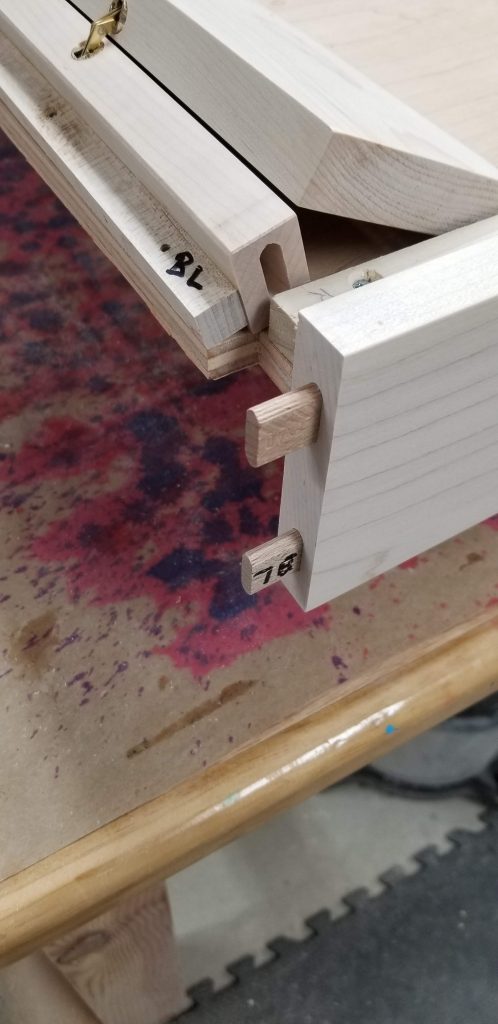
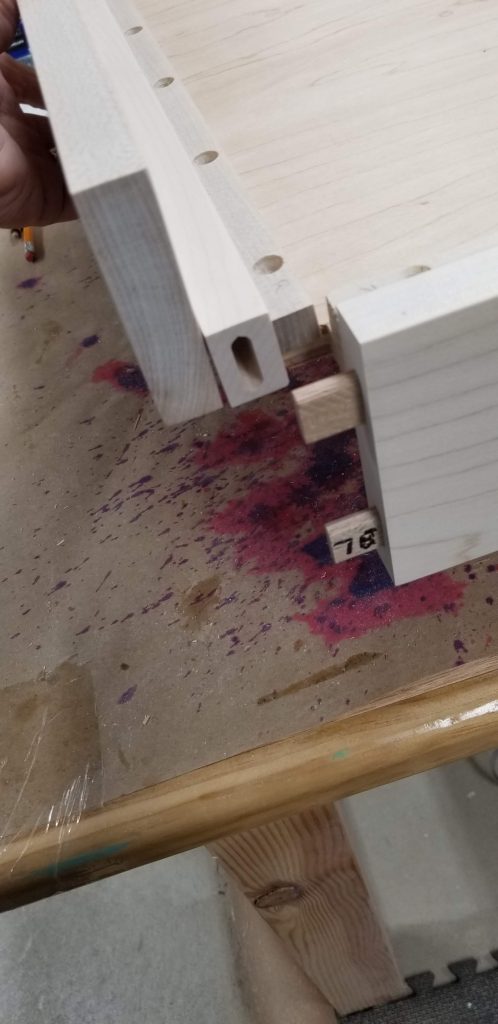
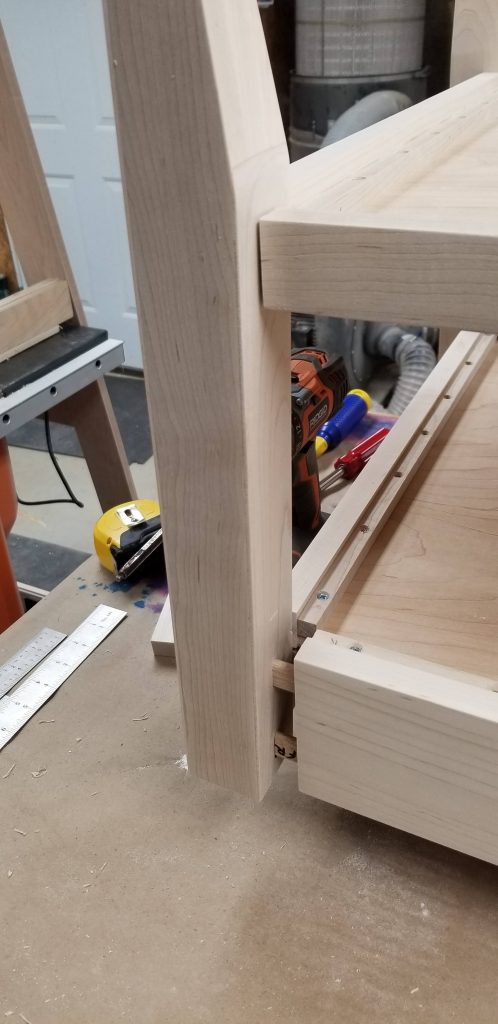
Now, slide the lower shelf FL and BL pins into the lower shelf holes on the legs FL and BL.
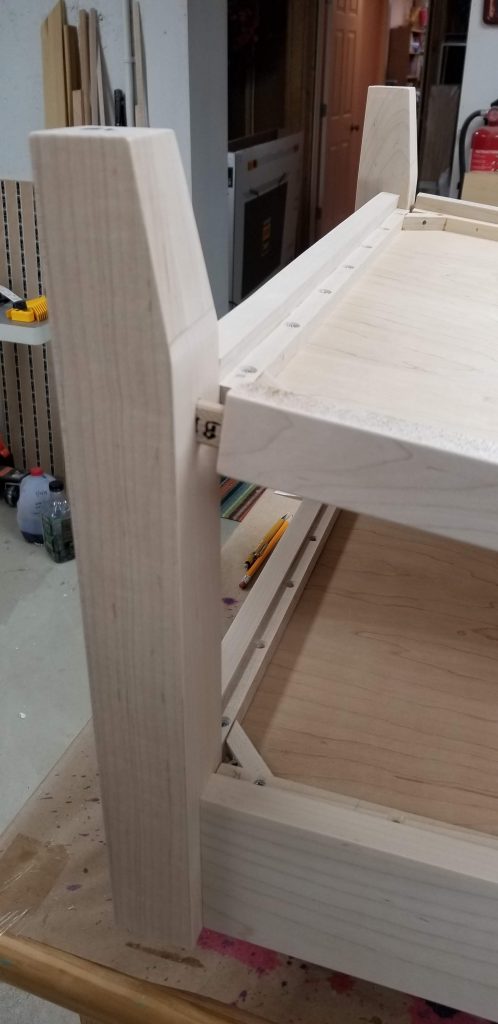
Lift the shelf level and slide the pins in the remaining legs matching holes. Install the two remaining locking braces into legs FR and BR.
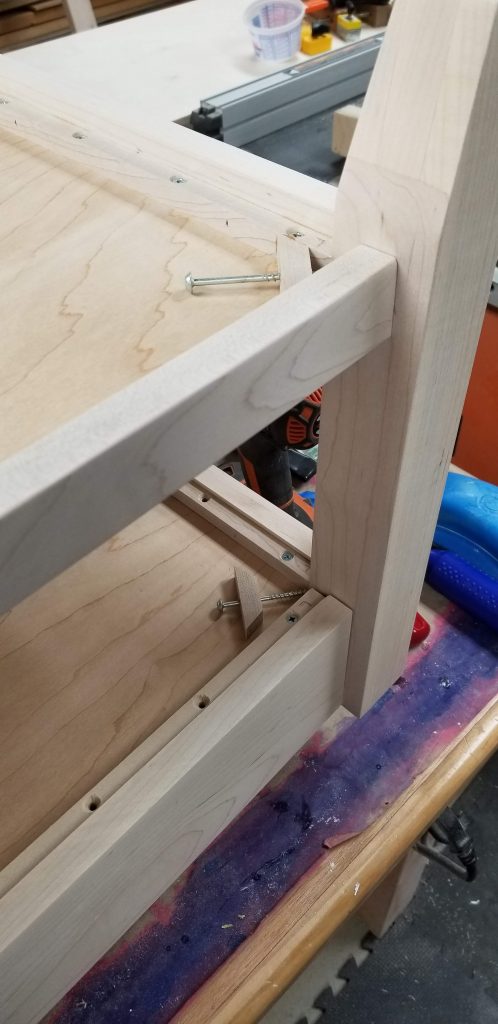
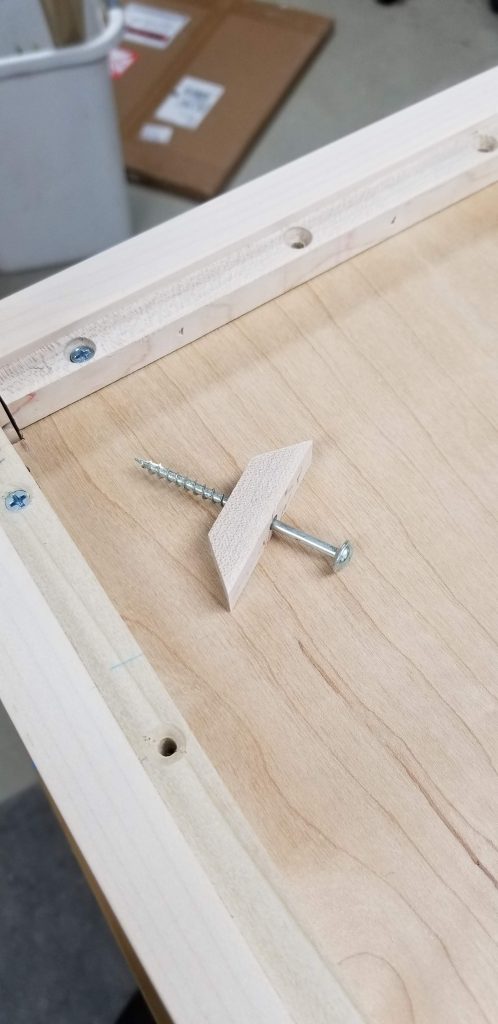
The lower shelf has the locking braces preinstalled. The remaining long screws need to be put in place and tightend.
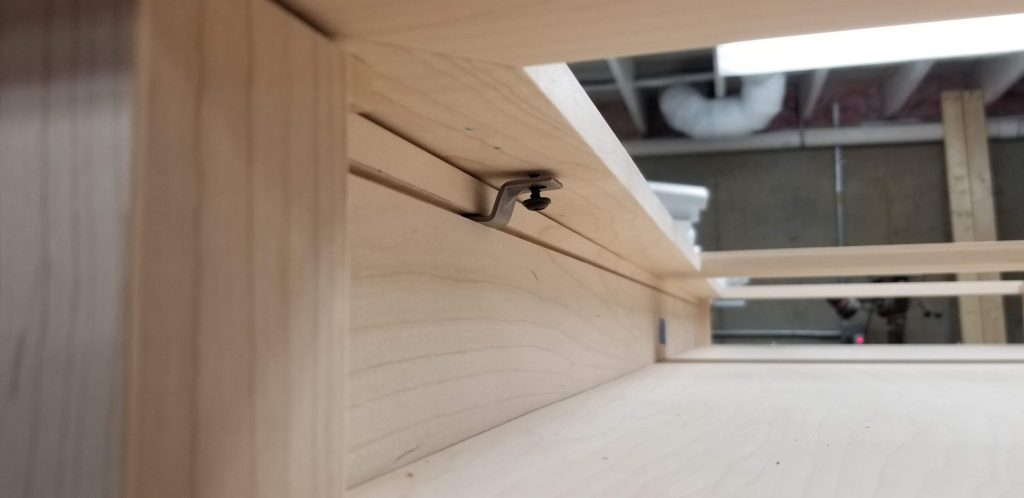
Flip the table base over and set the table top in place. Install the metal Z‑clips into the predrilled holes so the tongues fit into the slot, center the top end to end, and tighten the Z‑clip screws fully. There are four Z‑clips on each side. When fully tightened, the tabletop should not shift or move.
Place the acrylic panels into their frames, and you’re done.