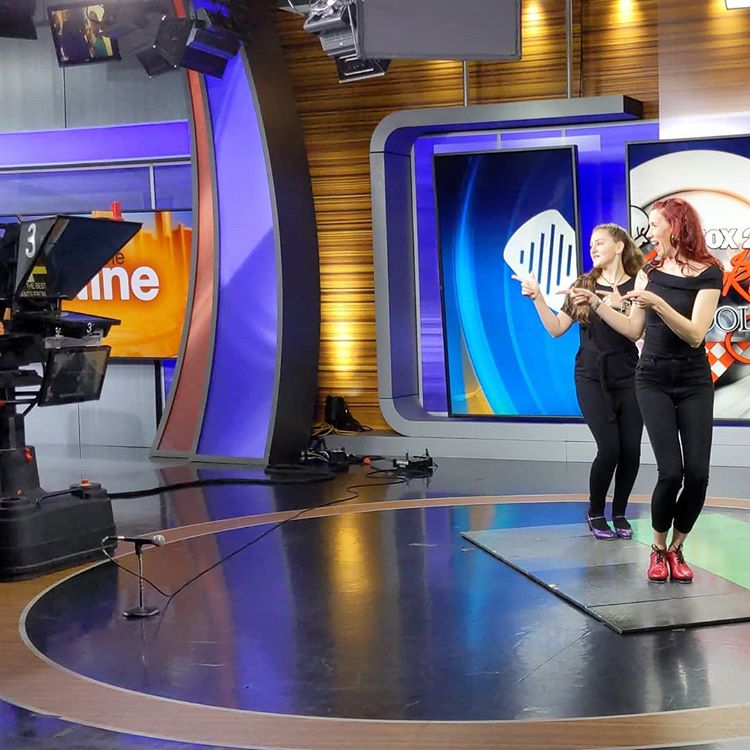
I have a couple grandaughters that are dancers. One, is a mighty Tap Dancer. She, and the groups she dances with, are called upon to do demo’s and shows where they need a portable tap floor. Also, they often need something at home. There are vendors that sell a variety of portable tap boards that tend to be pricey. While this is hardly a woodworking project, I have made a number of these boards that I thought I would write it down. I make them in batches, and only for her team. While they are easy, they take a lot of space, and a lot of finishing time. I really have no interest in going into “production”. So, I’ll do a dozen or so at a time a couple times a year.

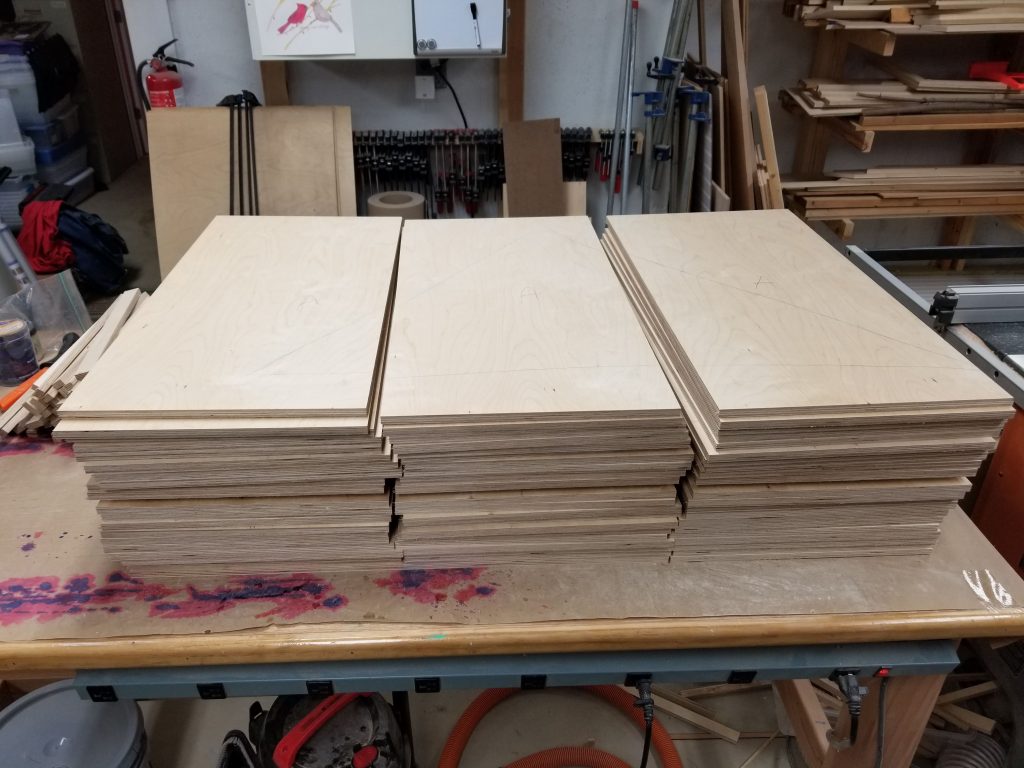
This last batch was 21 complete portable tap boards. My total board count is around 50+. I put value on my time, so I do make a profit on each board. They have paid for a couple new tools/machines for my shop over the past couple years.
The finished tap board is 30″ x 45″ and weigh about 20 pounds. They tri-fold to 16″ x 30″ up for easy storage and transport. They easily fit into most collapsible wagons which are helpful when moving several boards around to assemble into a larger floor.


I use materials that can be used indoors and outdoors. I start with 1⁄2″ Baltic/Russian/European Birch plywood in 4′ x 8′ sheets. I can get three tap boards from each sheet. I have purchased some from Menard’s, and it’s all right, but I found a lot of patches. I found a hardwood supplier that has a better, more consistent product about an hour away and frequent them. You can use the 5′ x 5′ sheets, but there is more waste.
You can use any plywood you wish, just understand that the typical cabinet grade plywood from Home Depot, Menard’s and Lowe’s is softer, fewer plies, and will breakdown faster than Baltic Birch. My earliest boards were from Home Depot Purebond plywood, and are still in use three years later. They are chipped up and about ready for retirement, but they provided great service.
Breaking down the plywood
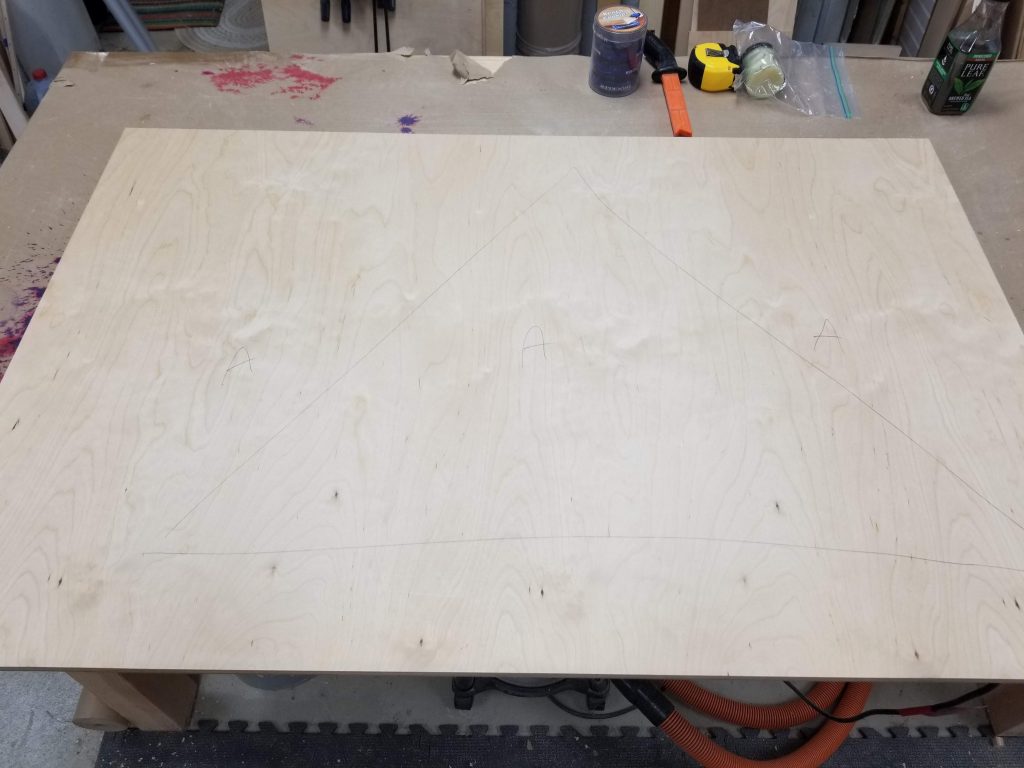
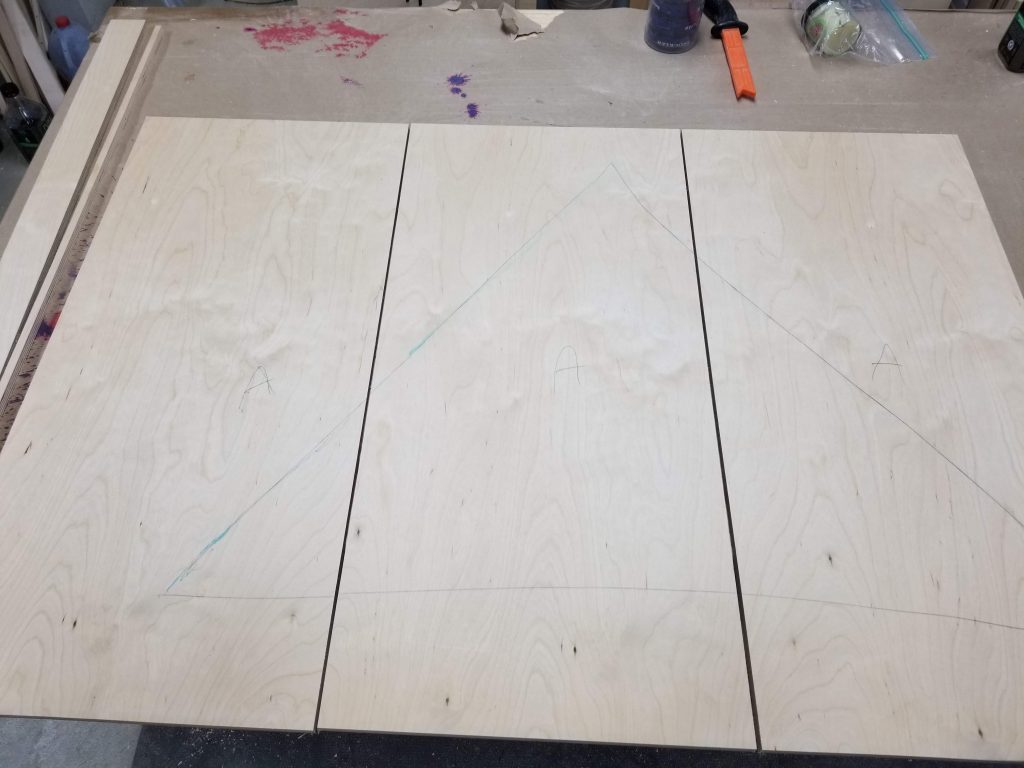
I start by breaking the panels down into 32″ x 48″. I typically let my supplier do those cuts, which makes the transport home much simpler. I’ll draw a triangle on the back of the panel so I can keep the grain match when gluing up later. I also label each of the future parts with a letter so I can keep the parts together. Here, you can see the back of panel “A”.
I run a 32″ factory edge against the fence set at 15 1⁄2″ and slice off one panel with the grain. If doing multiple tap boards, set these two pieces aside and continue slicing 15 1⁄2″ parts.

Set your saw fence to 15″ and slice off the factory edge on the 15 1⁄2″ piece, then continue to slice the large part into 15″ slices. Discard both factory edges. Similarly, trim the length to 30″, cutting off both factory edges.
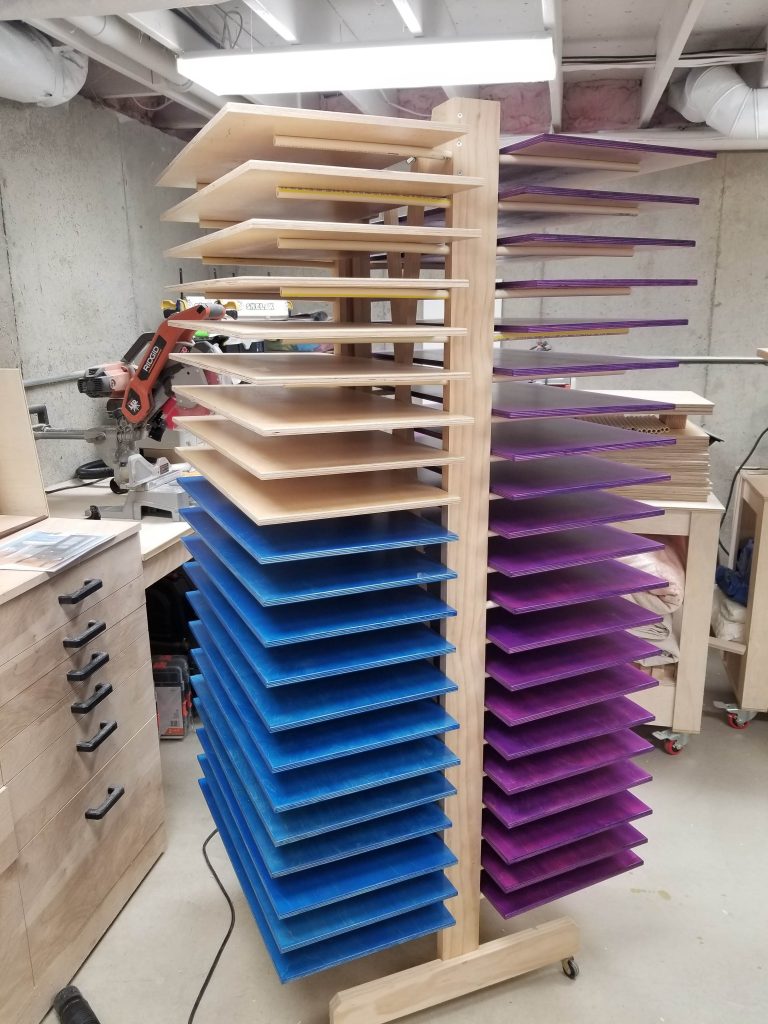
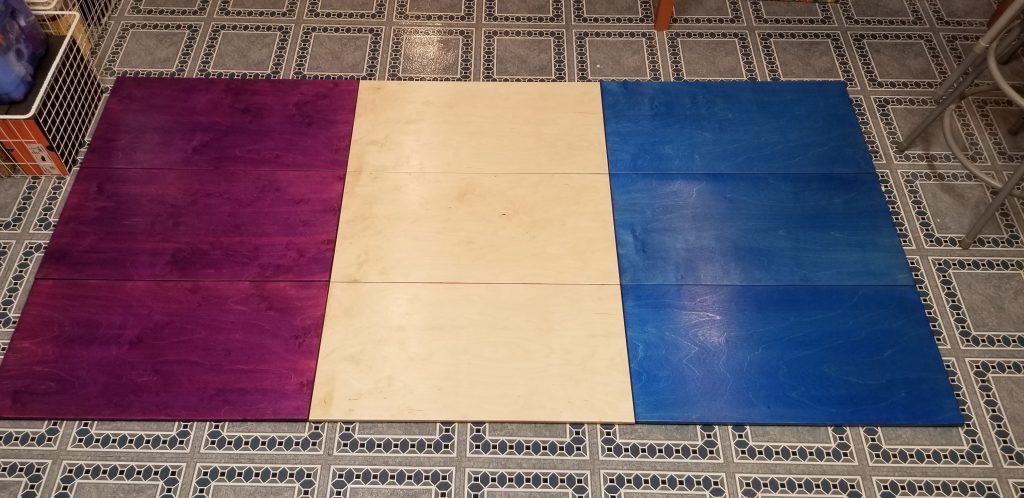
Using a 1⁄8″ roundover bit, clean up all top edges of all panels. Sand both sides. If you are going to use a water base stain and finish, wet all the boards, let them dry and sand again.
I stained both sides on my first batch, thinking that they might look better. It really made no difference. I did not bother an the next boards. When dry, apply three coats of finish.
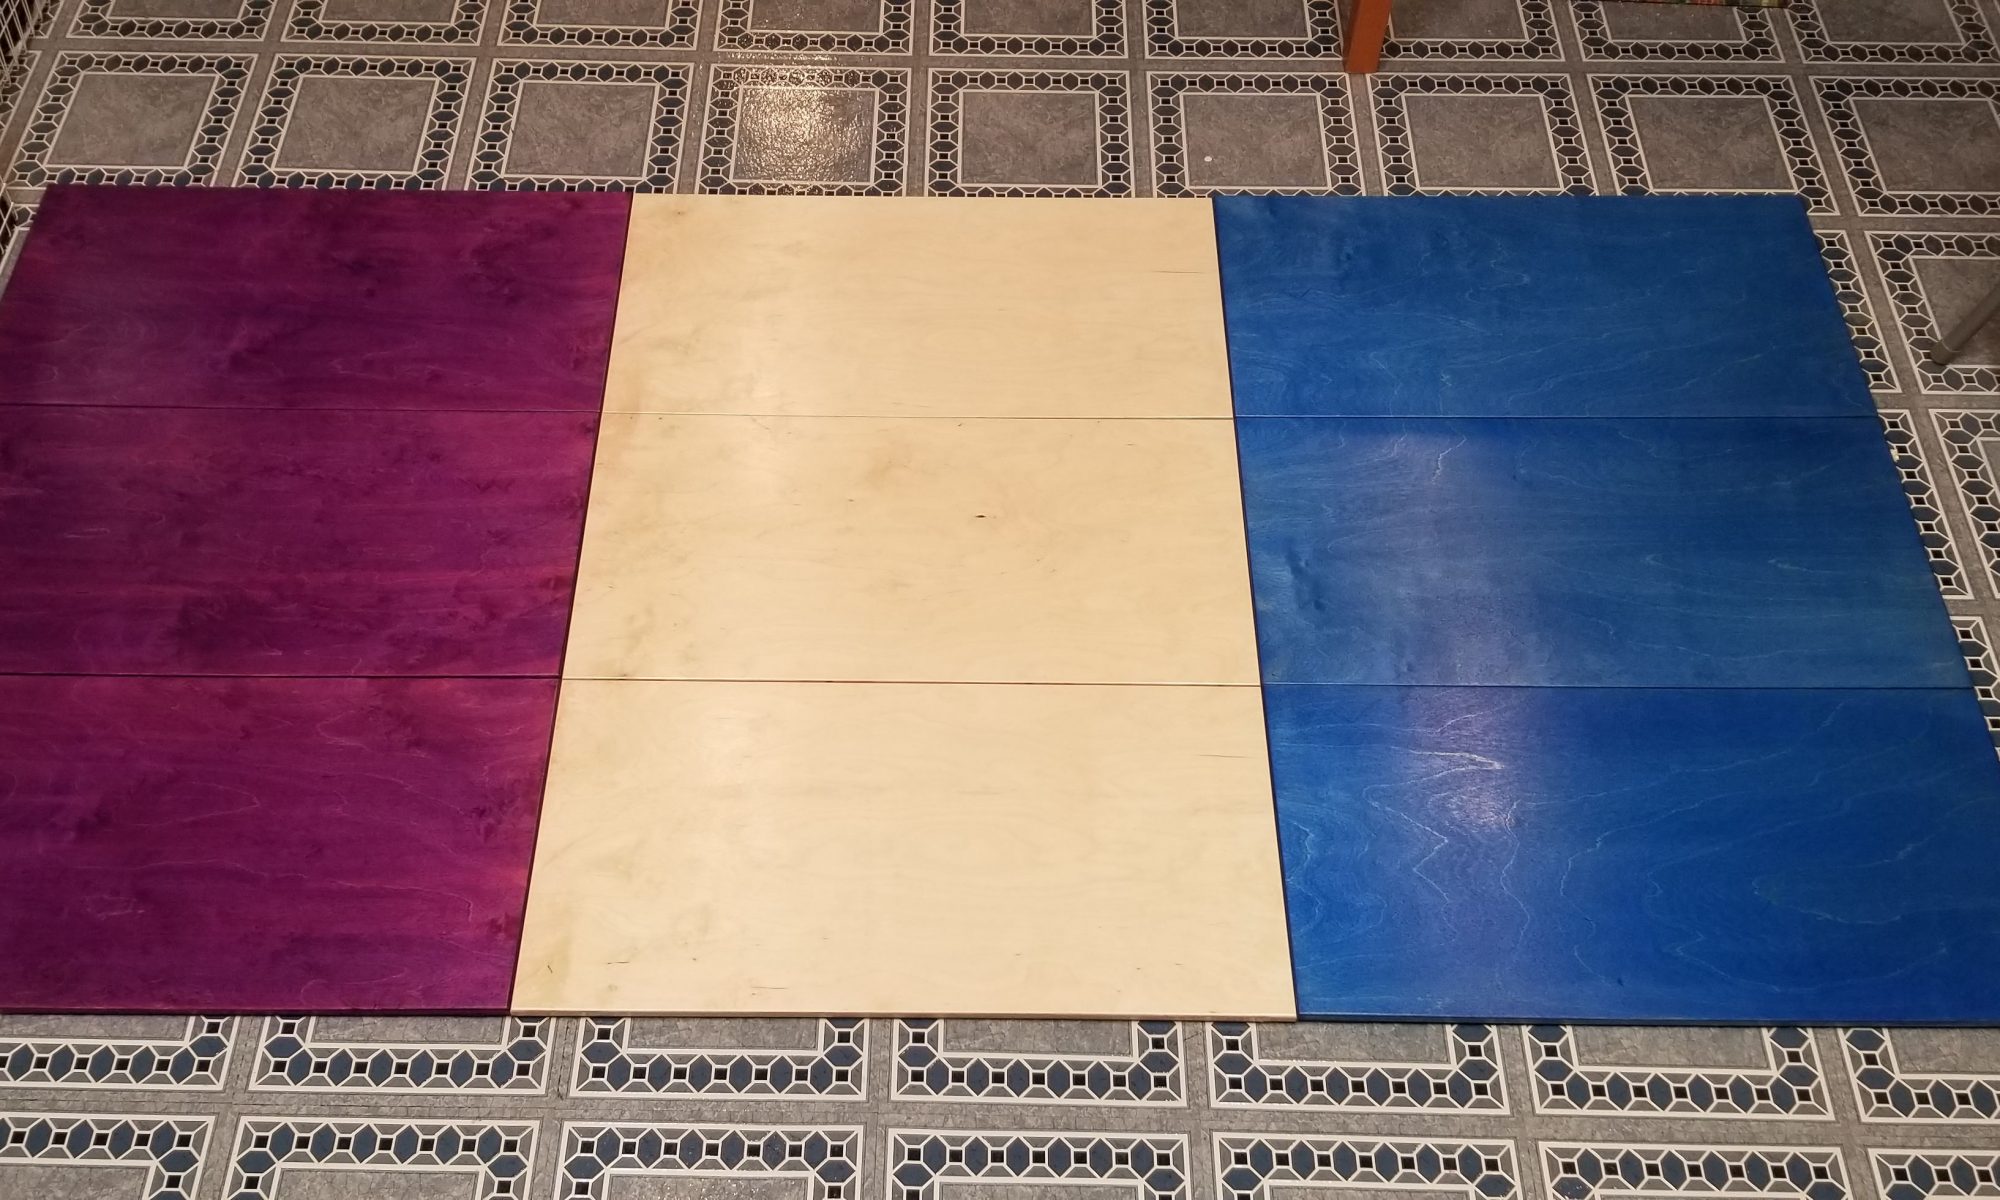
All my last couple batches, I stained with water based dye, Transtint. It is easy to work with. Just be sure to wear gloves. And, old clothes.
I also left many natural. Honestly, unless you are specifically trying to create a color for a show, natural is fine. Tappers have different color shoes for their personalities. Yes, they will have black shoes, probably white, and then any other color you can imagine.
Apply finish
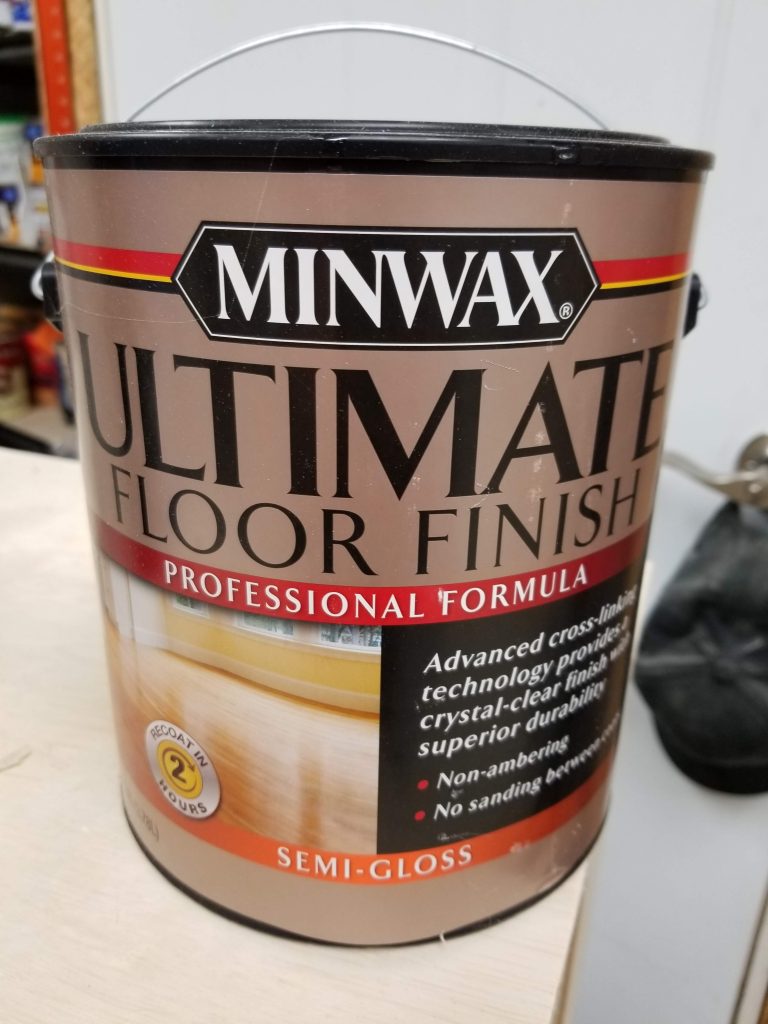
Next, apply finish. You can brush, or spread with an applicator. I sprayed. Since I am doing these indoors, I like to use a water based finish (plus, oil based finishes tend to add a yellow/amber tint to the finish). I have had great luck with Minwax Ultimate Floor Finish. It is very tough and allows recoats after 2 hours drying time. Cleans up with water. You can get it in Gloss, Semi and Satin. No finish, however, is impervious to the hammering that tappers do to a floor. Particularly, plywood. So, plan on multiple coats. I usually go four coats on the top, only two on the bottom (it is going to be covered with adhesive and carpet).
Even though Minwax says it is unnecessary, lightly sand between coats with 320 grit. This will knock down and fibers and nibs, leaving a smoother surface.
Glue-up
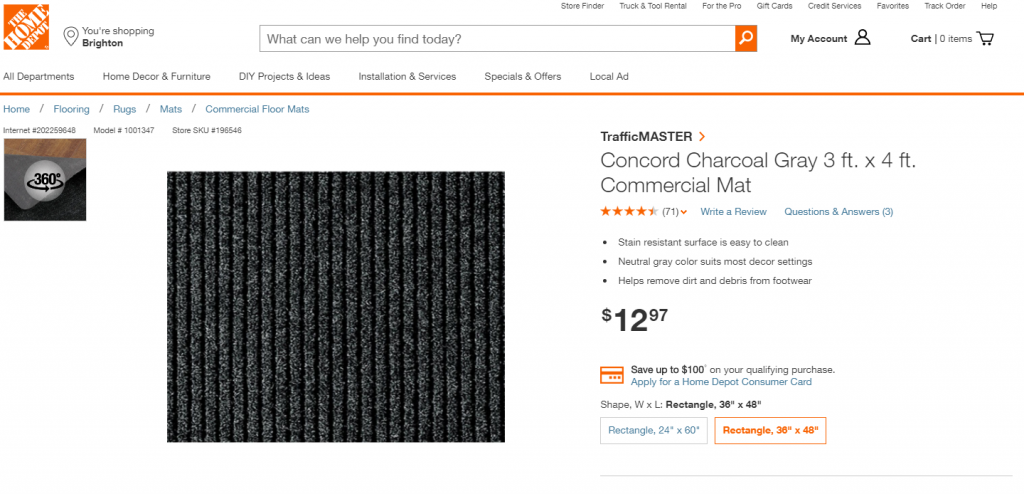
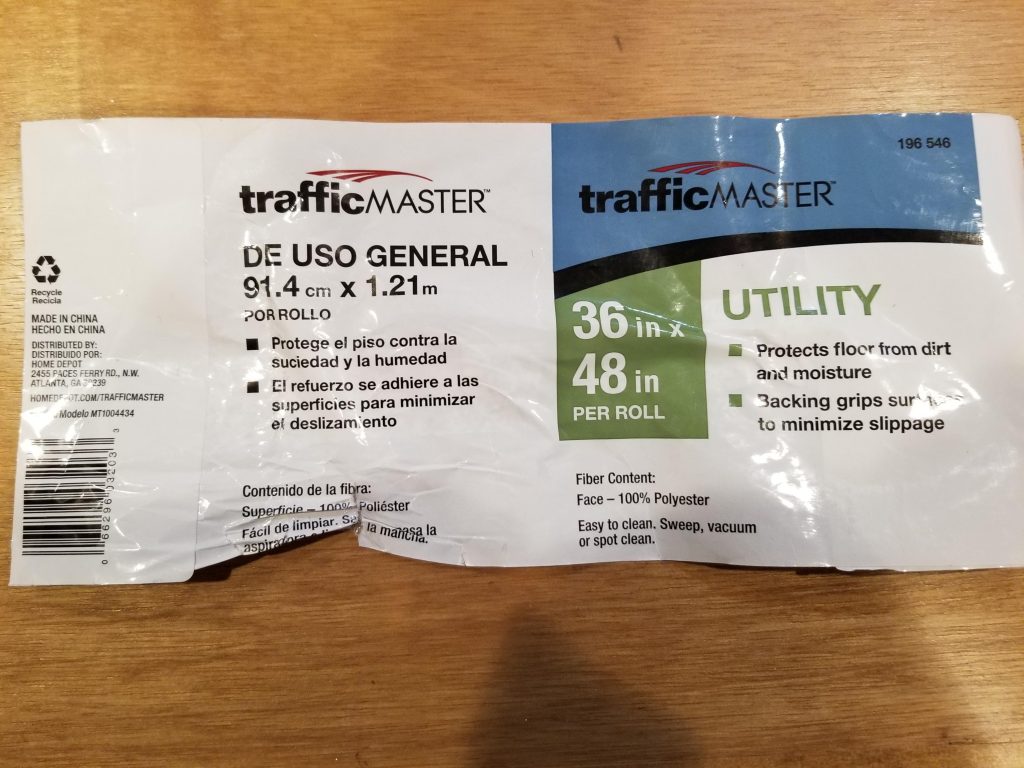
Next up is gluing the panels to a piece of indoor/outdoor carpet. I use TrafficMaster Concord 3′ x 4′ from Home Depot, but others will work. Menard’s carries something similar. You can also find it as runners and as a 6′ x 8′ carpet. This one has a rubber back, giving a great glue surface. The top side is a looped fabric that will grip velcro well. More on this later.
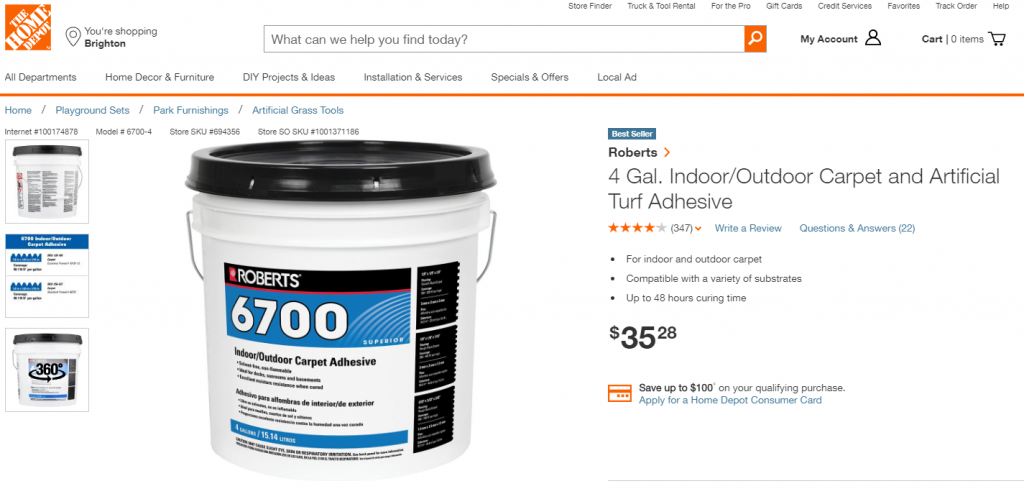
For the glue itself, I use Roberts 6700 Indoor/Outdoor Carpet Adhesive, also available from Home Depot. It is water based, no VOC’s, cleans up with water and is waterproof when dry. It seems to have a durable bond.
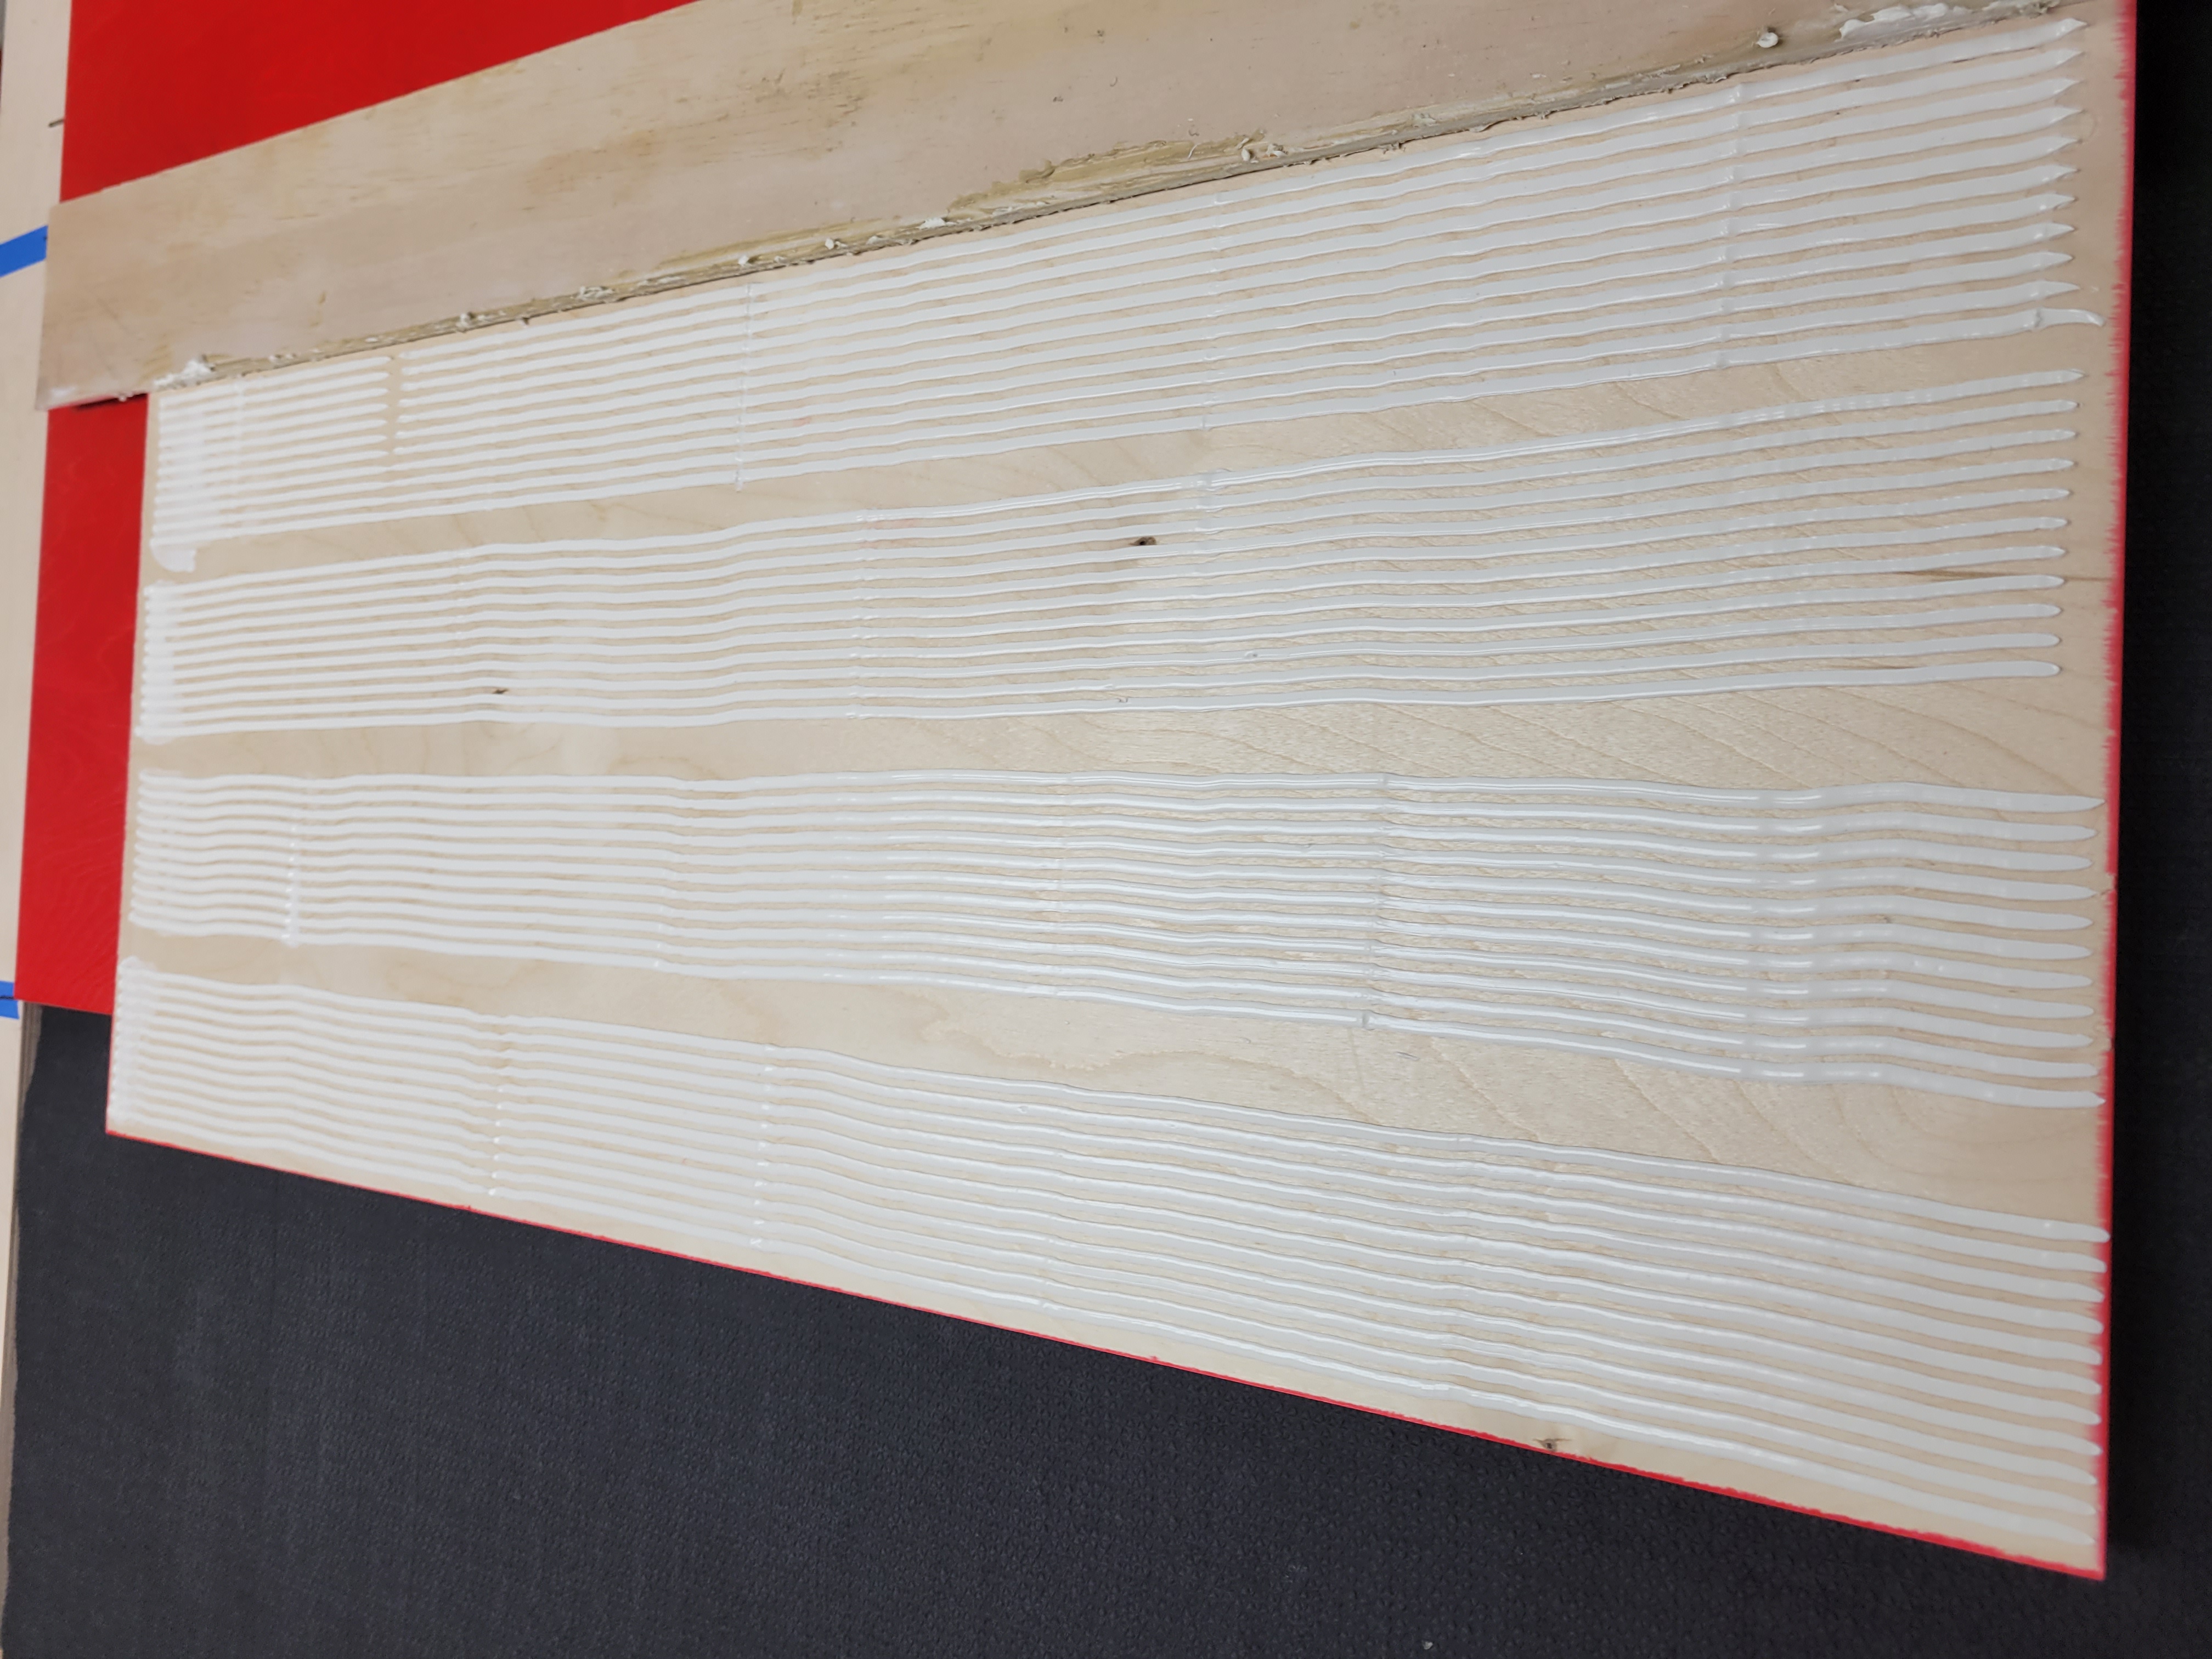
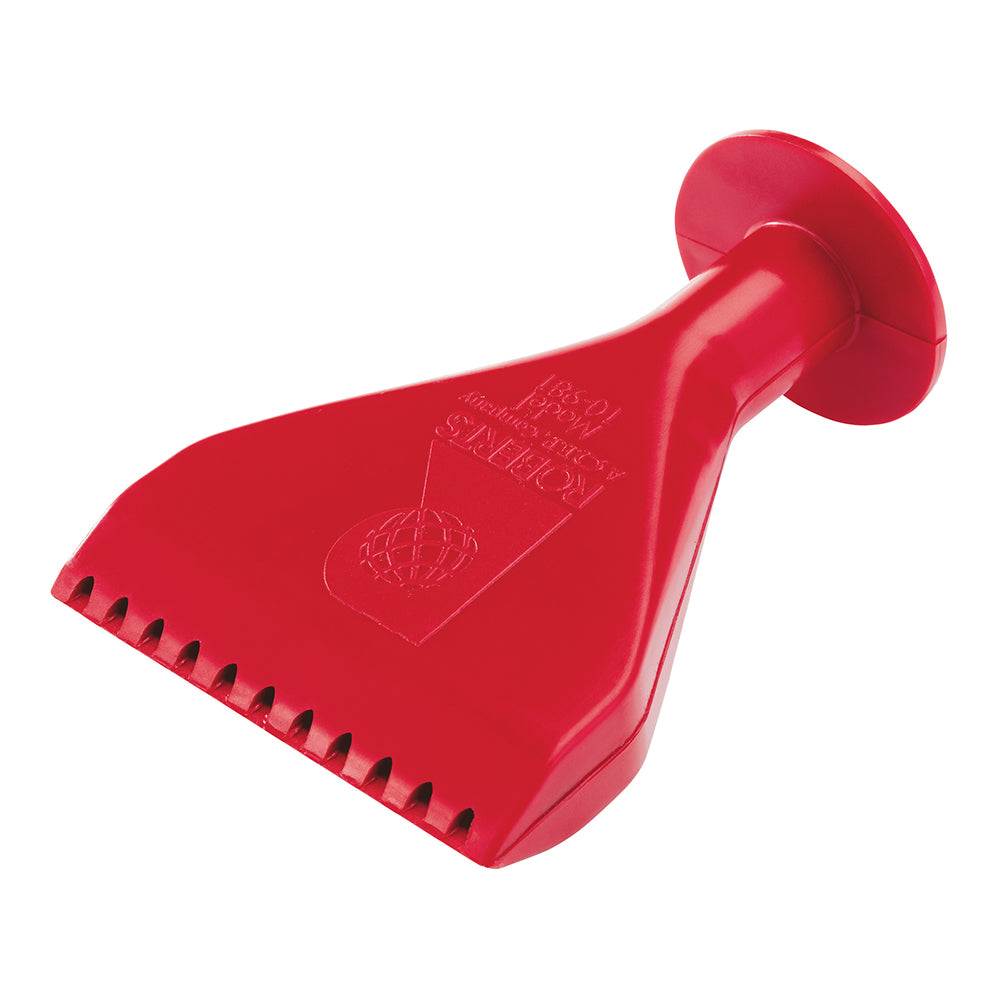
Using a notched trowel or spreader, you need to spread adhesive on all three panels, leaving a 2″ glue-free zone at the edges that will be adjacent when placed glue down onto the backside of the carpet. That is, where the boards will fold back on themselves, the carpet needs to be free to move. Be careful when sticking the panels down; it is easy to put the wrong edges together. It is also easy to apply glue on only one edge of the center panel.


Once glued, I just keep stacking up finished boards to cure. I’ll max a stack at ten portable tap boards or so. After a day, I’ll trim the the excess carpet. Simply run a sharp utility knife around the perimeter, using the tap board as a blade guide. Use scissors to trim off any dangling threads that might remain.
Follow the curing recommendations on the finish and adhesive instructions before putting the tap boards into use.
The looped fabric on the carpet will protect the floor. But it also works well with velcro to hold multiple boards together into a larger tap floor. I use 2″ wide industrial strength velcro that I buy in 10′ rolls on Amazon (here). Cut it up into 12″ lengths (well, 11″, so I’m certain to get 10 per strip). I include four strips per tap board.
Supplies
A couple final notes: In this last batch, each completed portable tap board took about 2 — 2 1⁄2 hours. I used:
- (7) sheets of 4′ x 8′ x 1⁄2″ russian birch
- a couple quarts of each dye color
- (2) gallons of Minwax Ultimate finish Semi-Gloss
- (21) utility rugs
- (4+) gallons of Roberts 6700 adhesive
- (9) 10′ lengths of 2″ velcro
Update
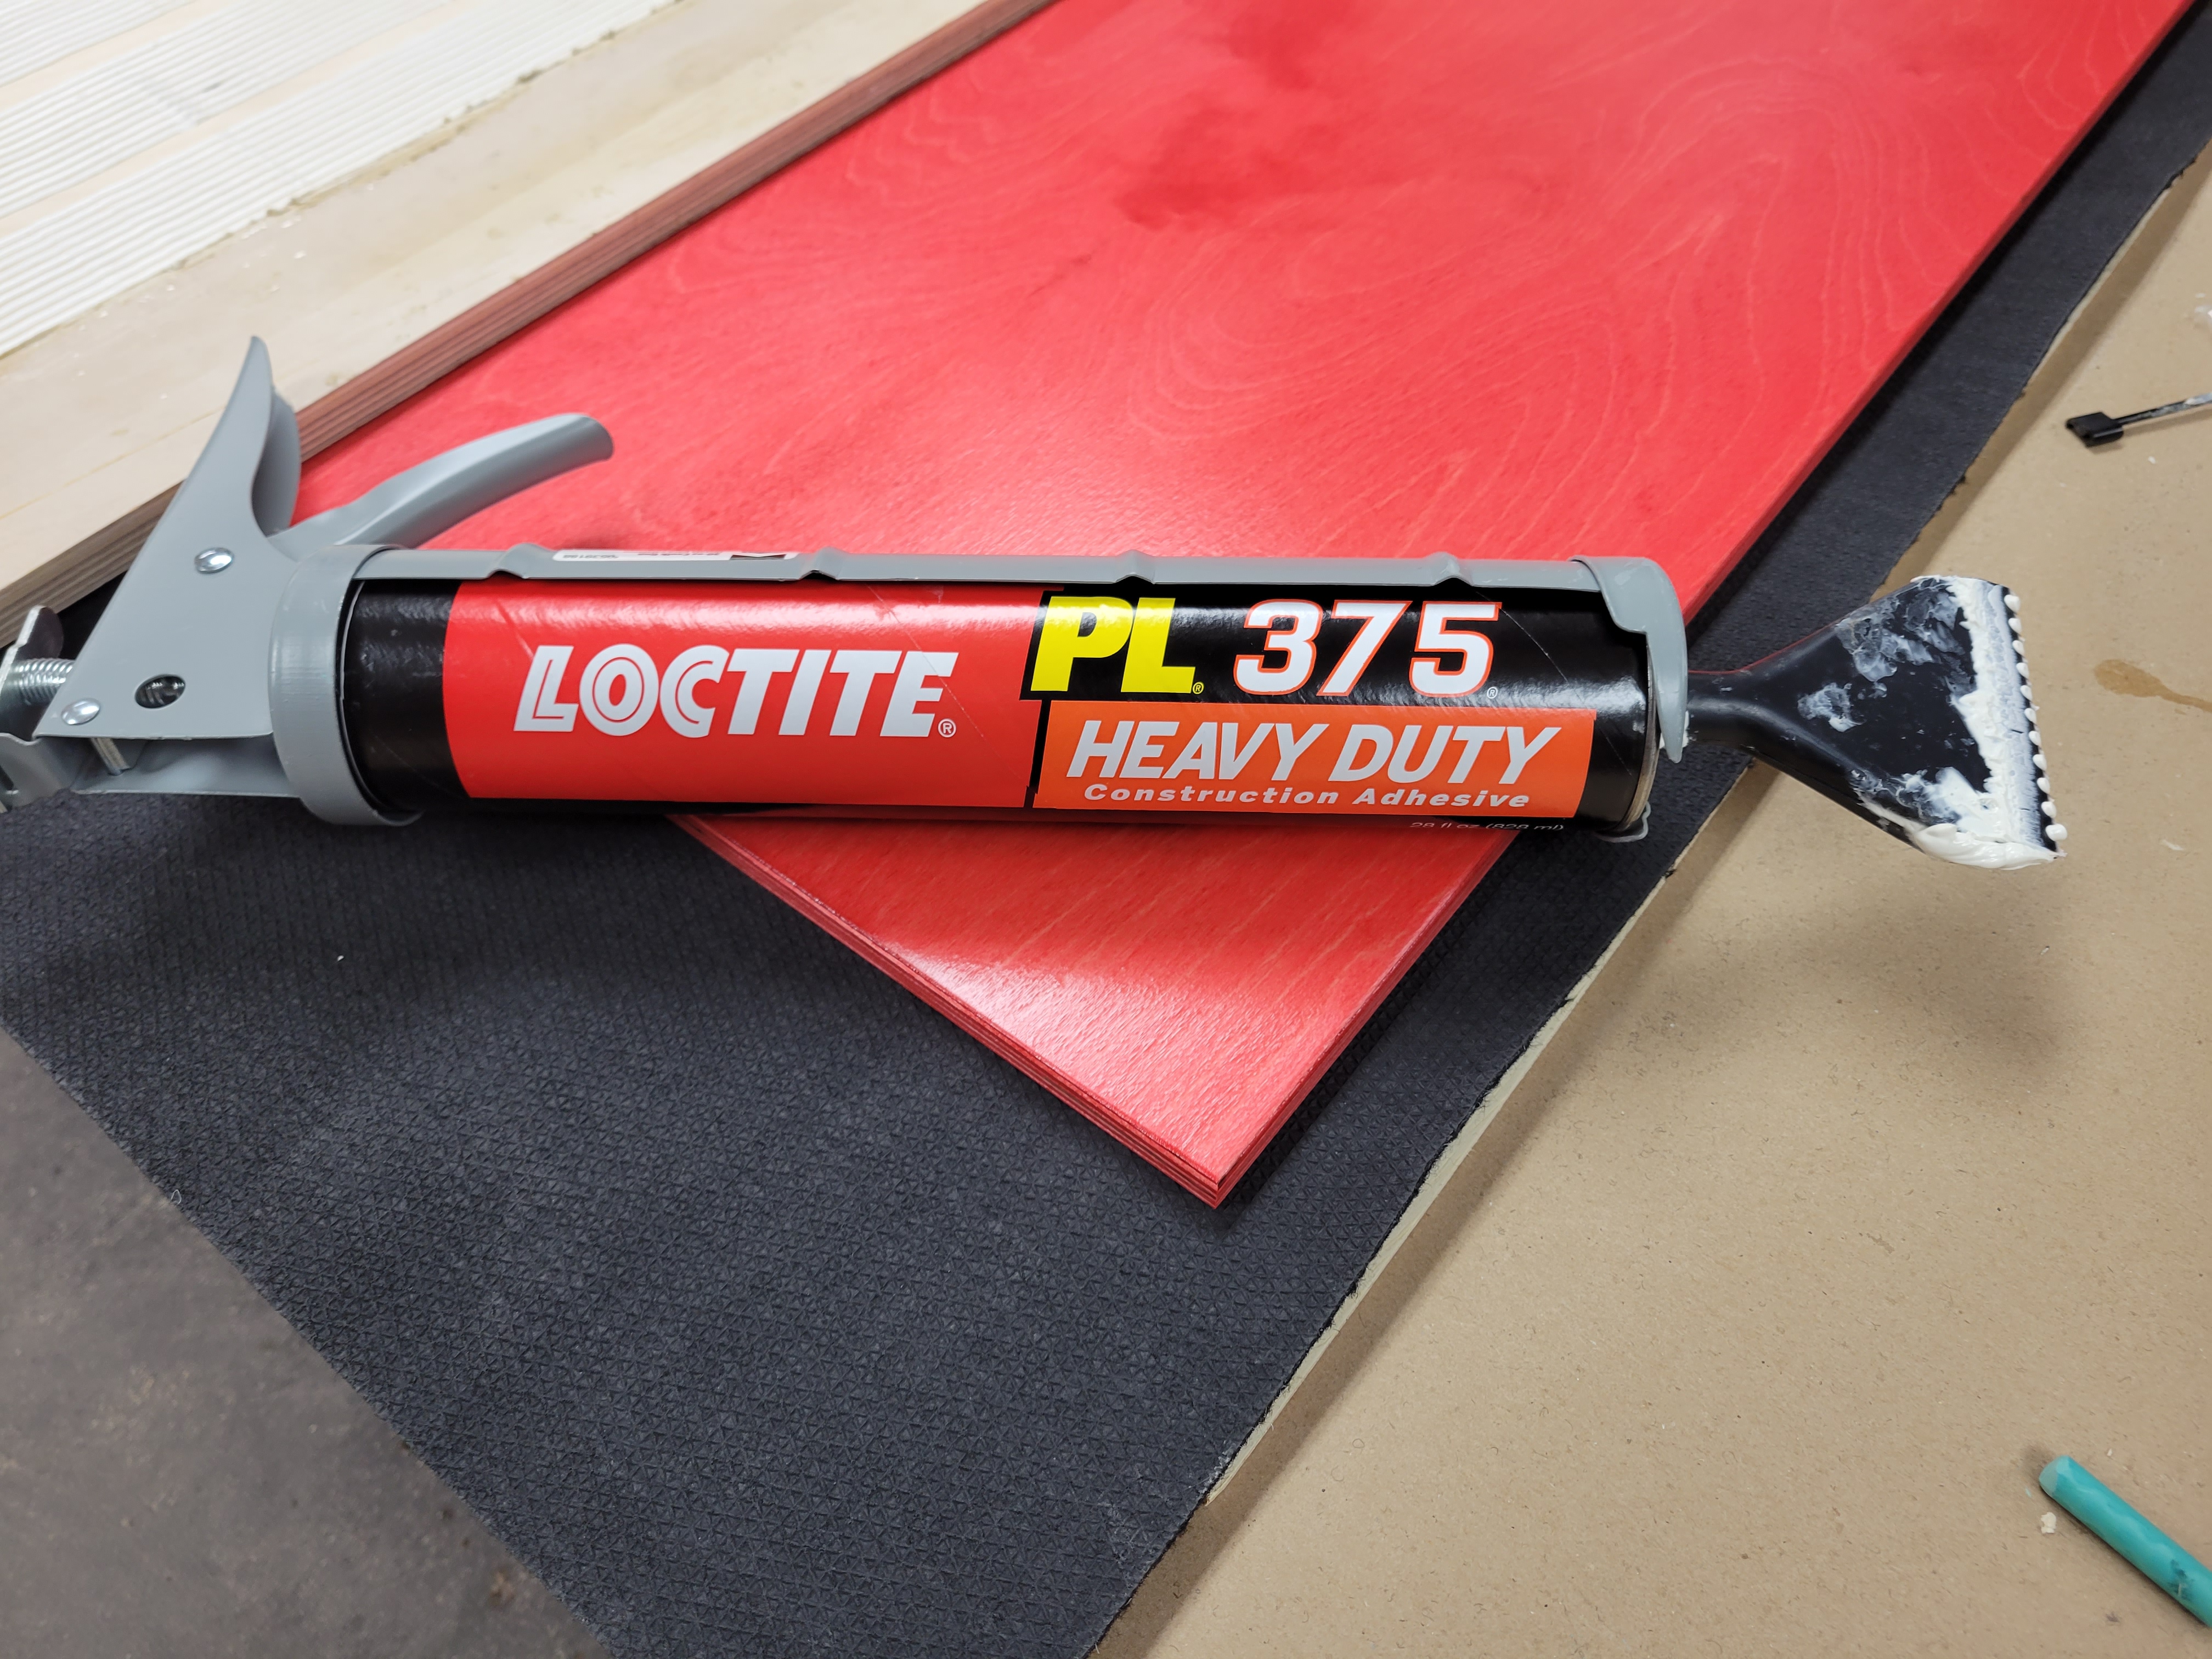
On a recent batch, I changed how I was doing the glue-up. I switched to a construction adhesive in a caulk tube. This worked wonderfully. Applying the glue dropped from 12–15 minutes to 5–6 per complete tap board.
The secret is the use of a caulk spreader.
I got mine at Lowes, but Home Depot, Menard’s, et al all have something. When buying one, be sure to check your caulk gun for fit. It would only fit on my large guns that take 29oz caulk tubes. This was fine for me, since I was doing a bunch of boards. I found I could get about three tap boards (8–9 panels) made with a single tube. The small, 10oz tubes would only get one tap board (three panels). The larger tubes are more economical as well.
I used Loctite PL 375 for this batch. It’s low odor, can cleanup with water while it is still uncured, though mineral spirits did a better job. I may try a polyurethane next time. I am always concerned that the stress of folding the carpet will loosen the glue.