Before a recent trip to visit one of our son’s family, he asked if I could whip up a couple toy chests for the grand girls. Of course the answer was certainly. I used a toy chest made by Tom Silva of This Old House as the model. His video and page was very lacking basic information about sizes. Hopefully, I can fill in some of the blanks.
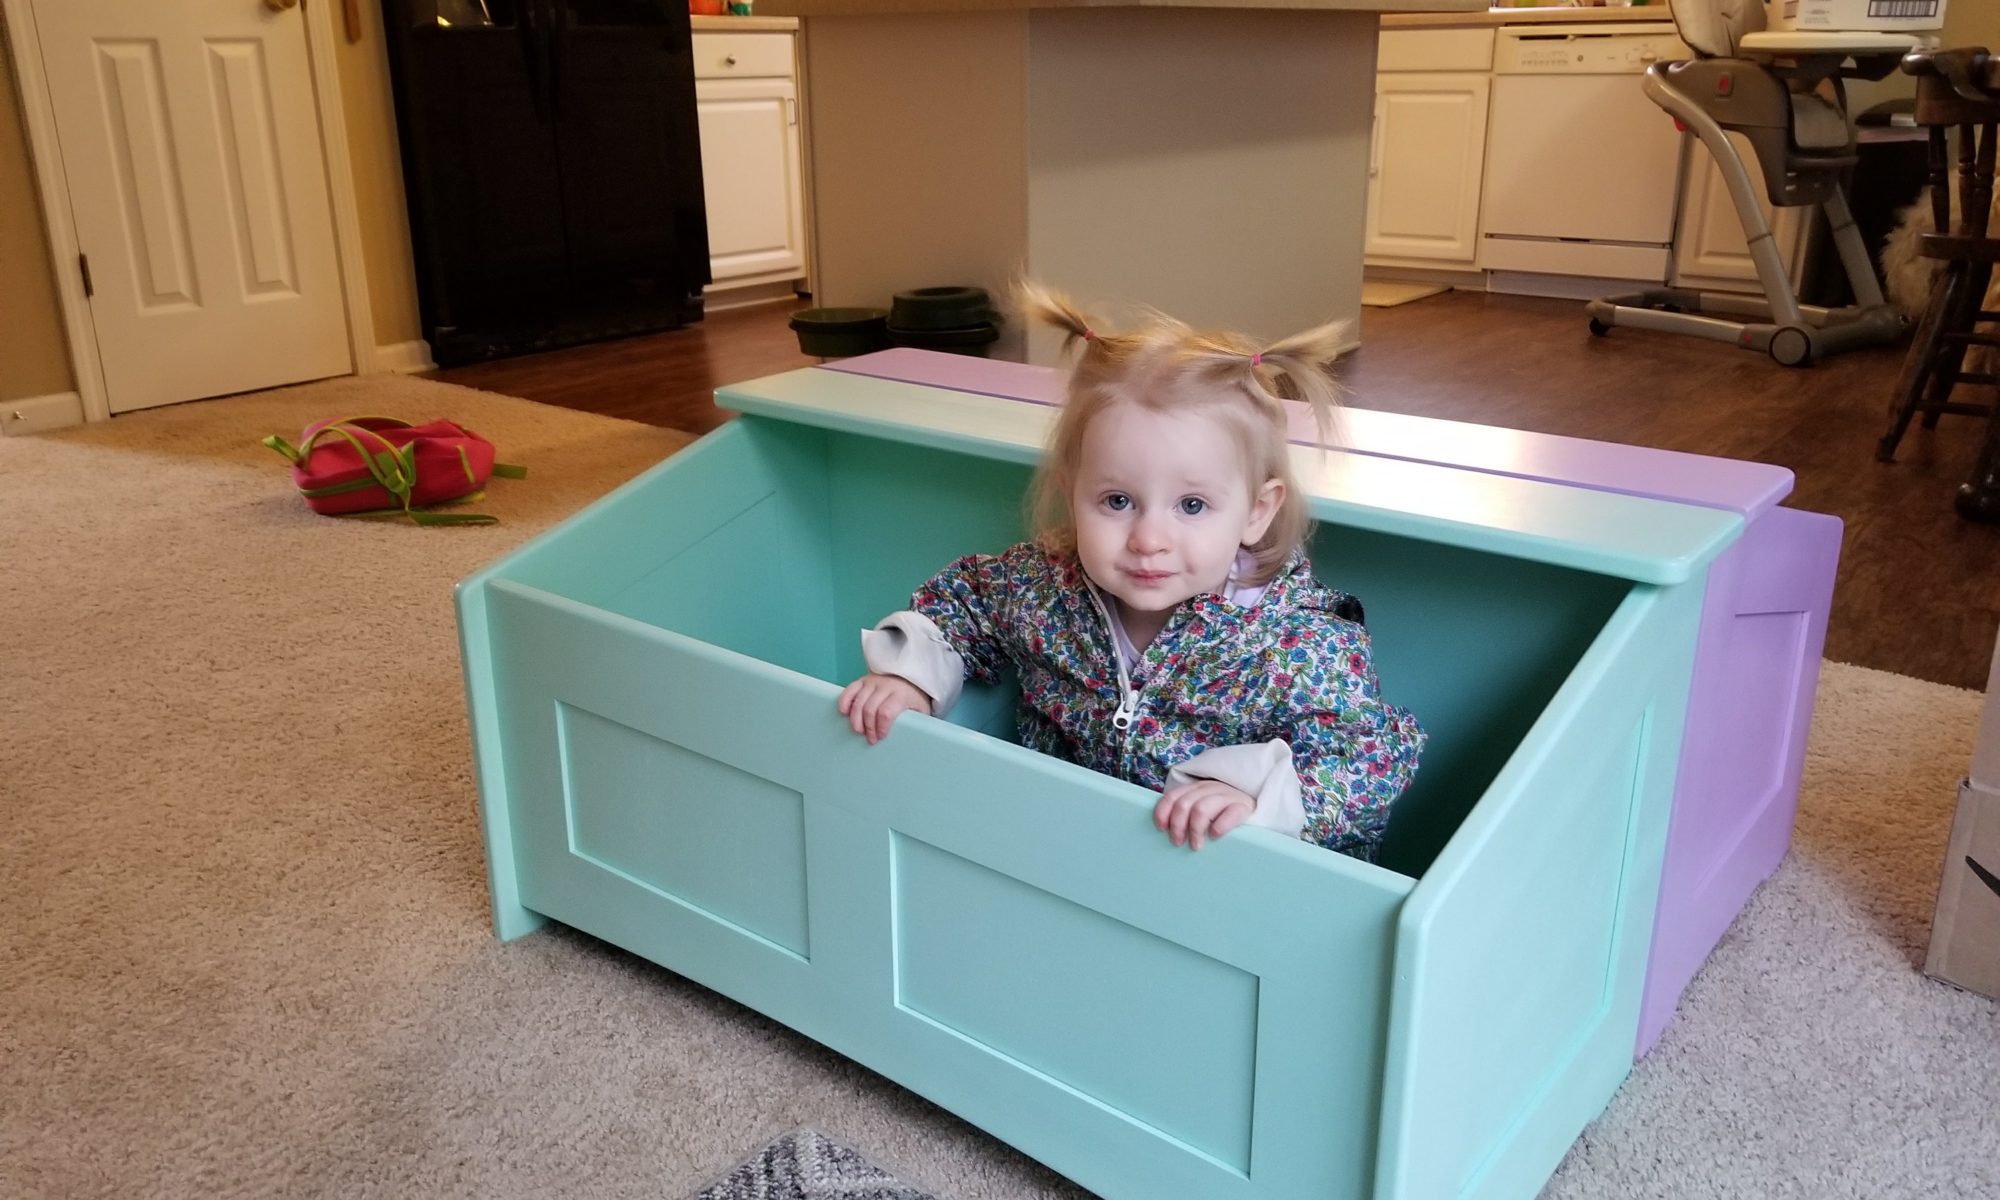
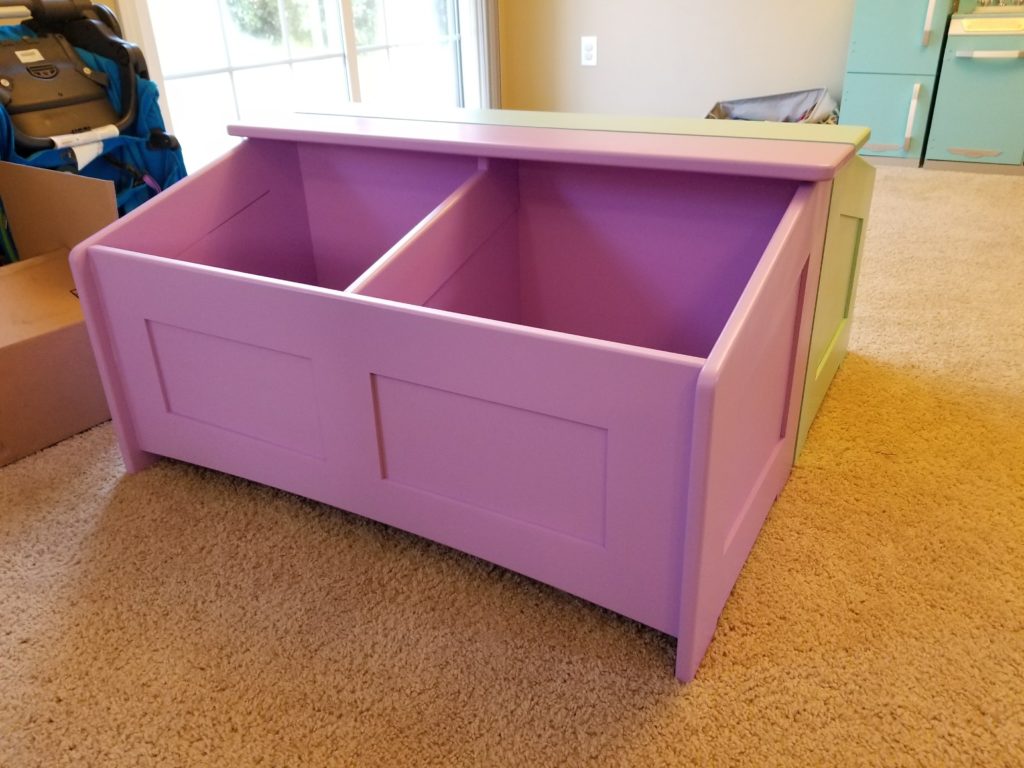
First, a view of the finished toybox. It is 18″ x 18″ x 34″. The shelf on top is 5 1⁄2″ x 36″.
Materials are:
(4) 1″ x 4″ x 96″ clear pine or poplar
(1) 1″ x 6″ x 48″ clear pine or poplar
(1) ½” x 48″ x 48″ S2S birch plywood
Tom Silva used pocket hole screws to hold his together. The kids weren’t sure if we would stain or paint, so I opted to go with dowels. If you are painting, save yourself time and go with pockets, fill the holes with plugs, sand and paint. A lot less fussy. We ended up painting. But, the dowels were a good option while they were deciding.
I started by grabbing some scrap 1⁄2″ ply I had, ripped it to 3 1⁄2″ wide (to match the 1 x 4 pine), and made a simple mockup of the sides. I stayed with 15º angles, as Tom used.
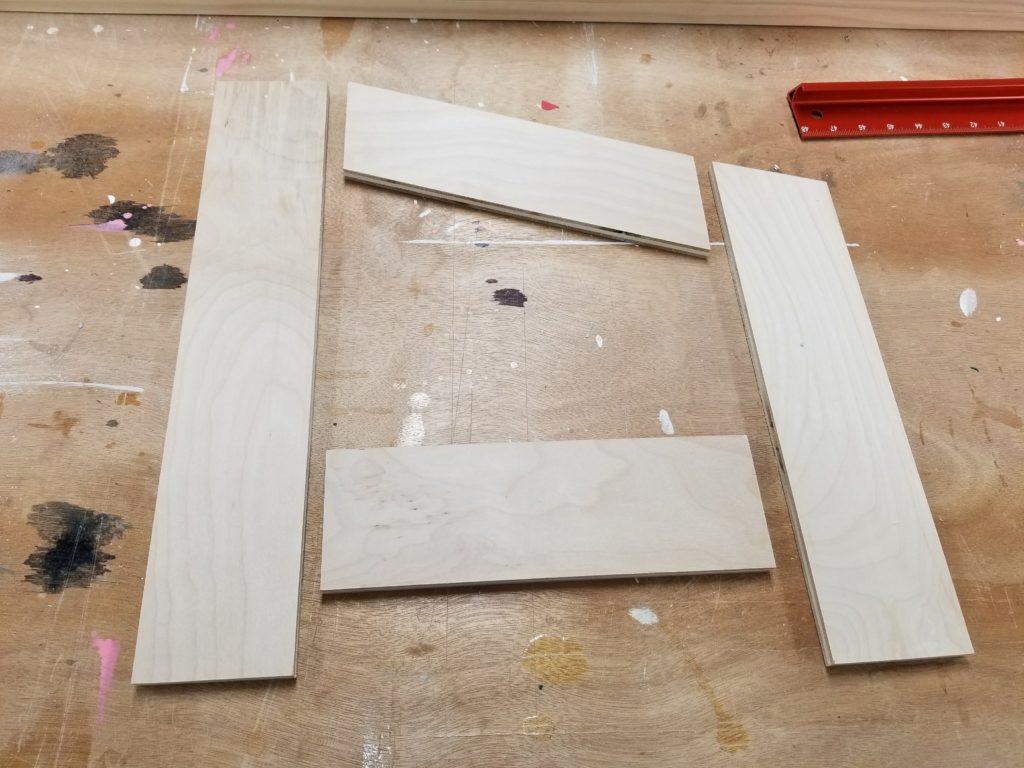
My back leg stiles ended up at 18″. Cut two (left and right sides).
The bottom rails are 11″. Cut two of those as well (left and right sides).

Cut two front legs a little long at 16″. Cut two 13″ top rails with a 15º at one end. Set the bottom rail in place. For easy alignment, put the rail bottom edge flush with the bottom of the back leg. Place a front leg flush with the other end of the bottom rail. Align the 15º end of the top rail against the top end of the back leg and mark both pieces where it crosses the front leg. Cut off at 15º. Save the cutoffs from the front legs. We will use them on the center divider later.
All this made my top rails 11 5⁄16″ and my front legs 15″ on the tall side.
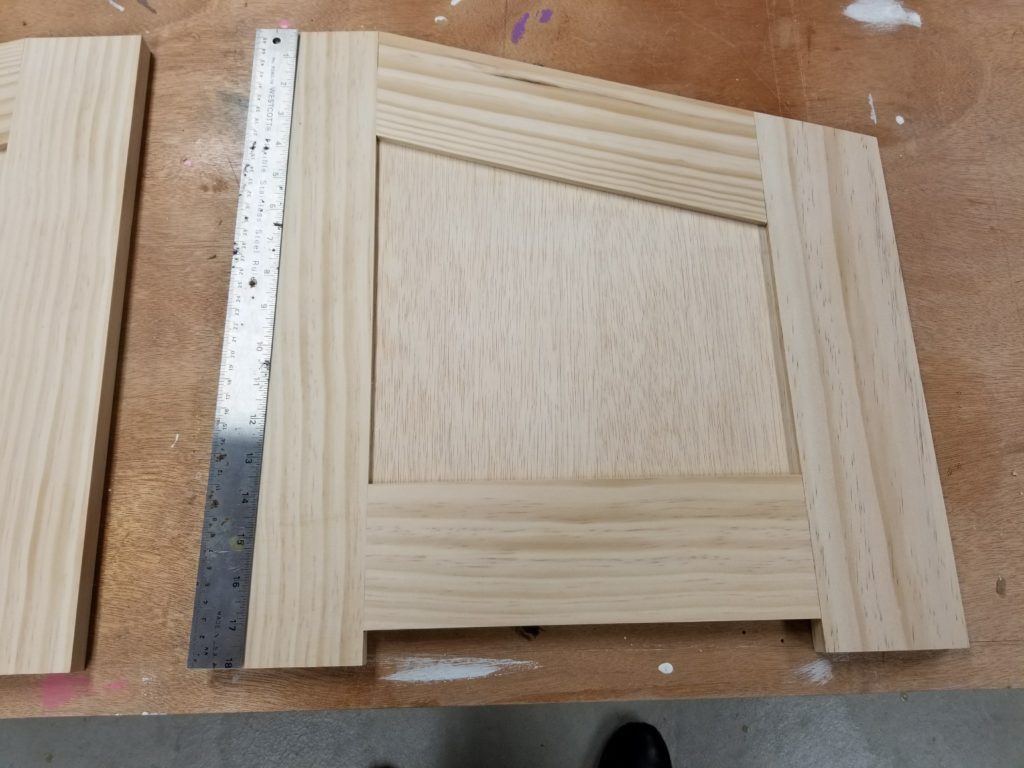
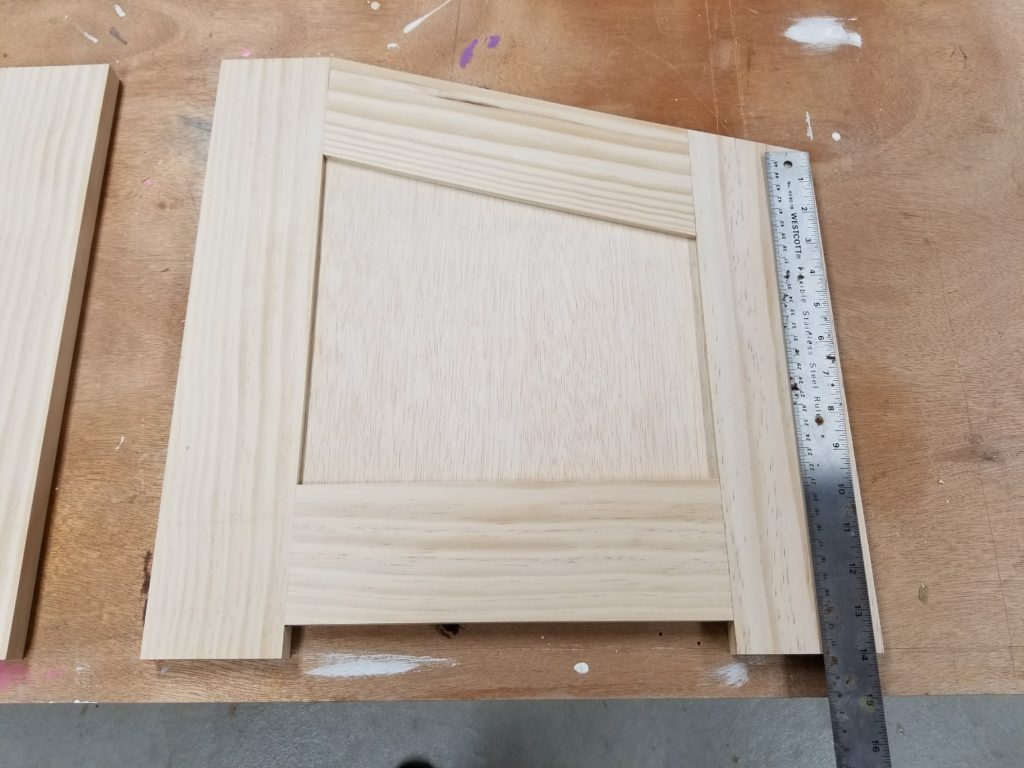
Lay the pieces out, assembling the frame on your bench. Position the bottom rail 3⁄4″ up from the bottom of the legs. Measure the inside of the frame. Mine was 10 1⁄8″ by 11″ (front height was 7 1⁄8″)
I then cut a 13″ piece with a 15º at one end, and a
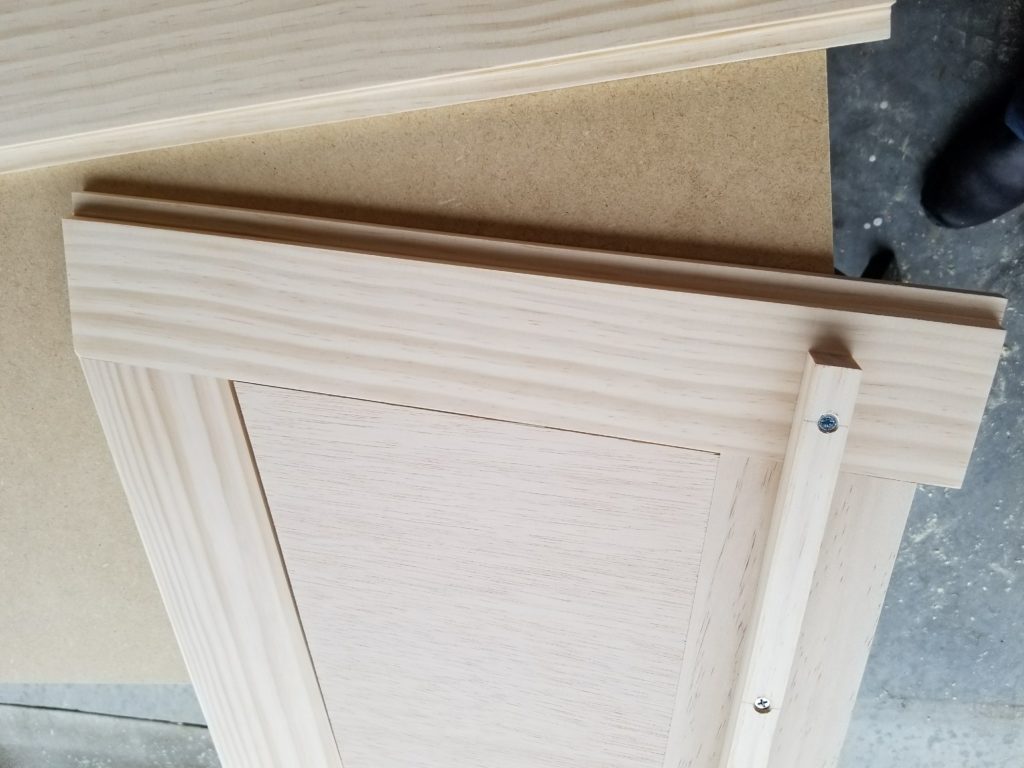
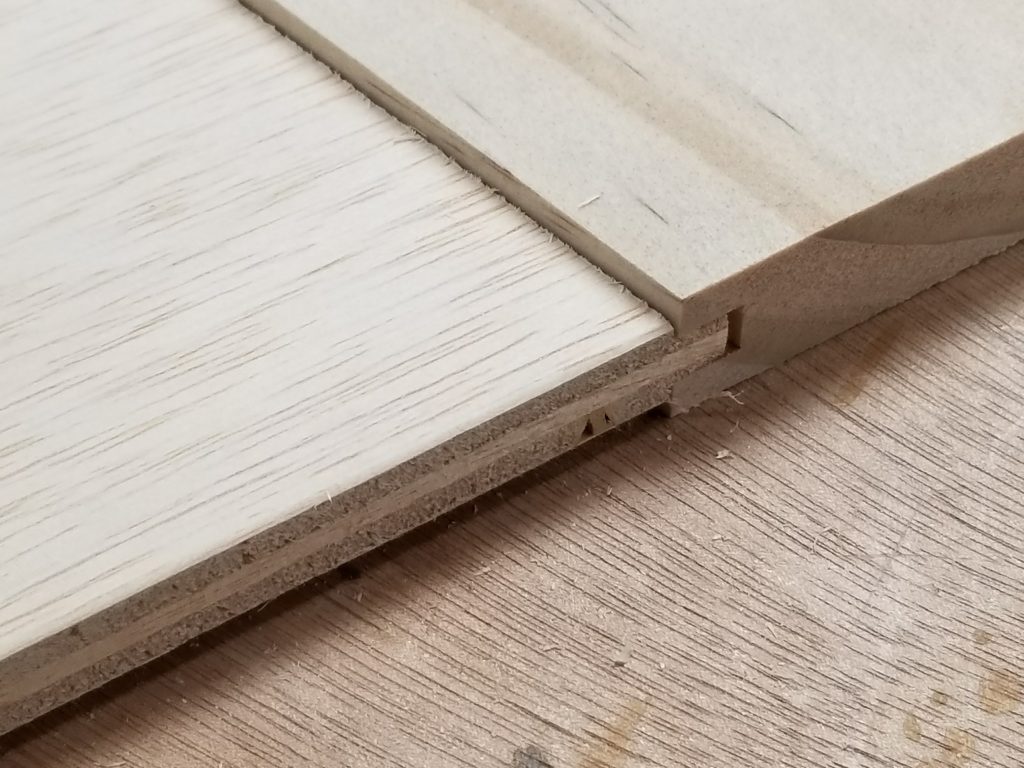
I routed a 1⁄4″ slot on the full length of the rails, and stopped them 1″ from the end on the stiles, so they remain hidden. The 1⁄2″ plywood panel was cut 1⁄2″ larger in both directions. I them cut a 1⁄4″ rabbet on all edges. This then fit inside the frame, flush on the inside, recessed by 1⁄4″ on the outside.
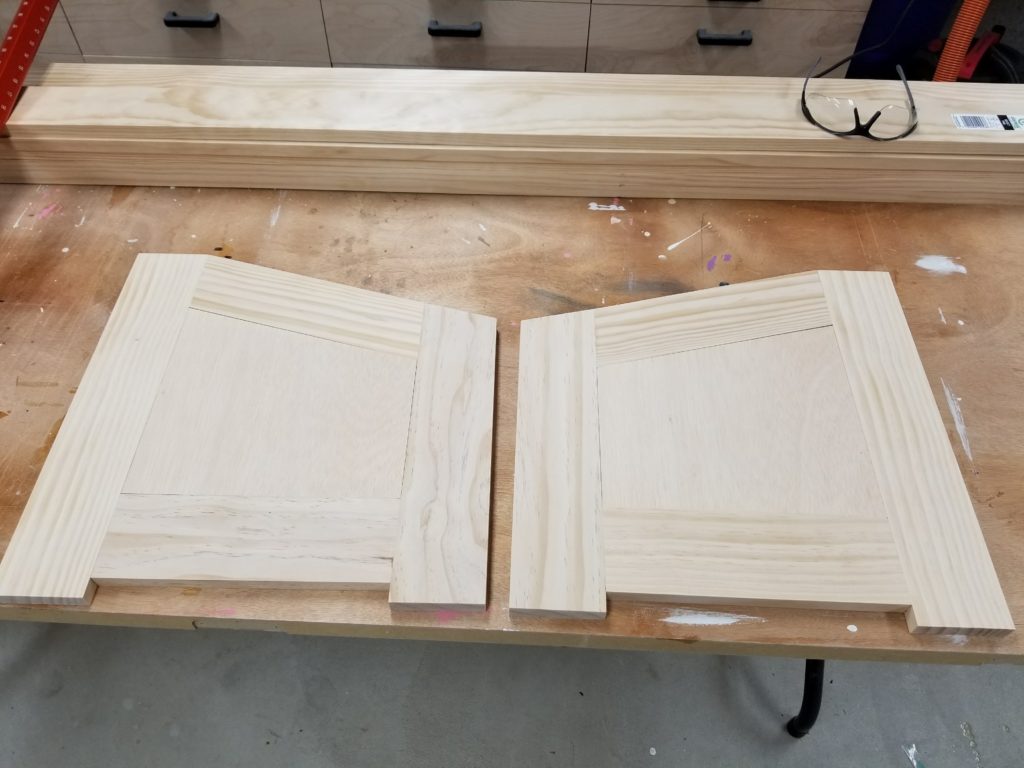
Round over the inside and outside of the front leg and the top rail of both sides, stopping at the back leg. Do not round over the top of the back leg.
I marked where I wanted the dowels, drilled with a doweling jig, and test fit all frames.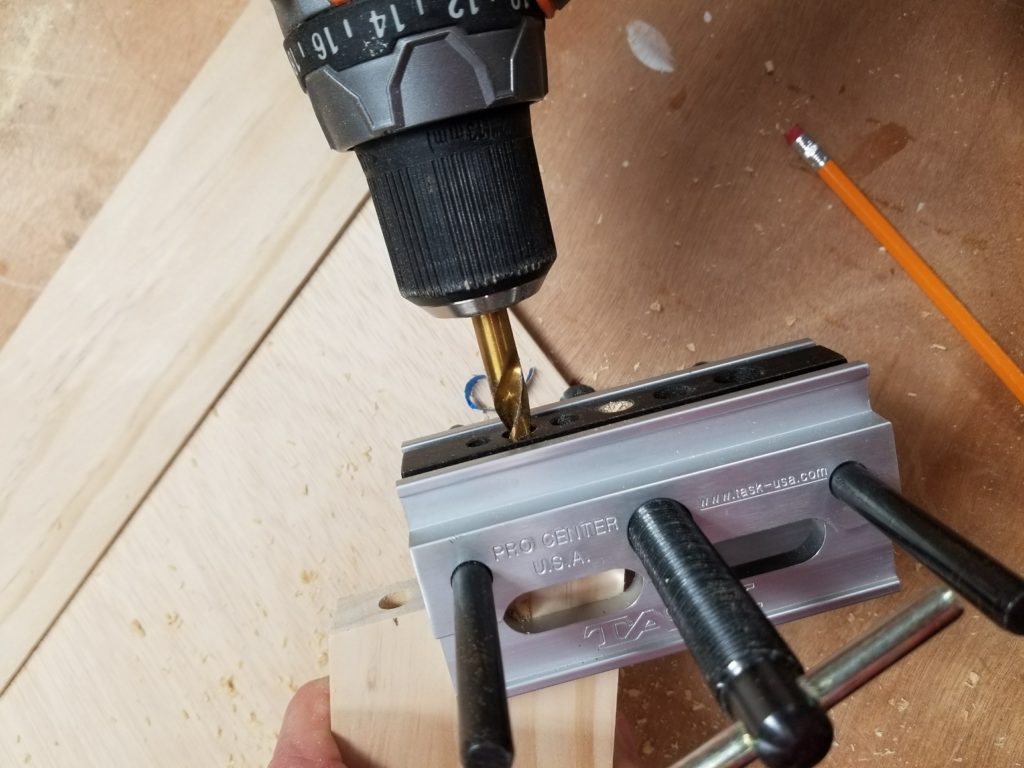
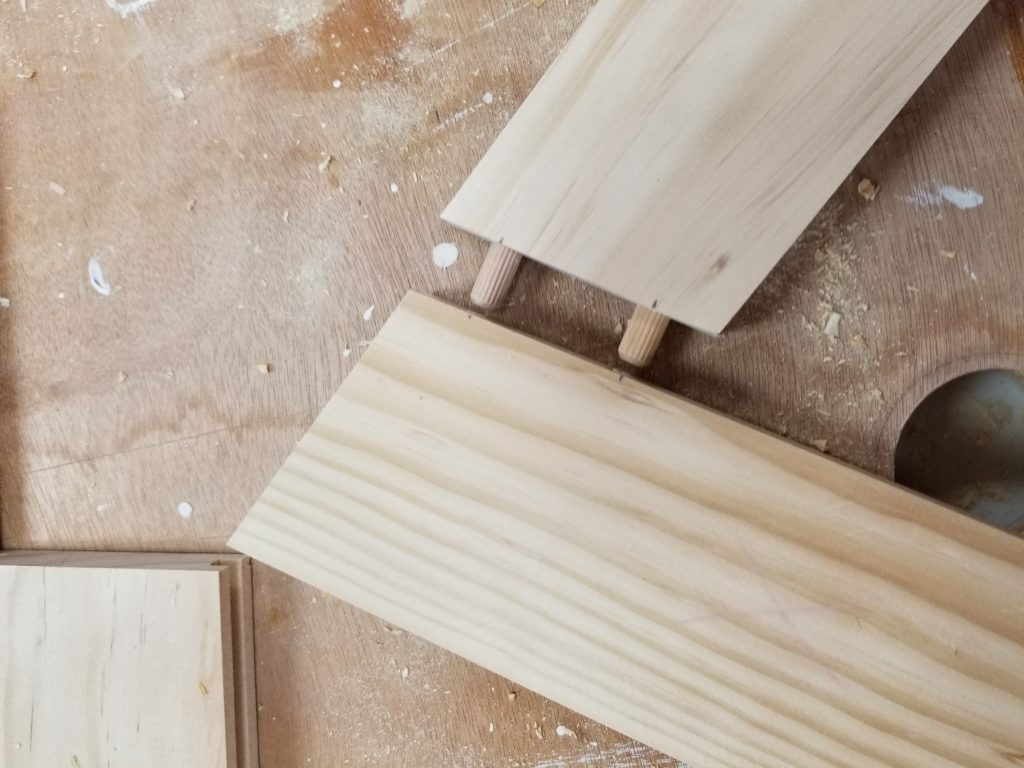
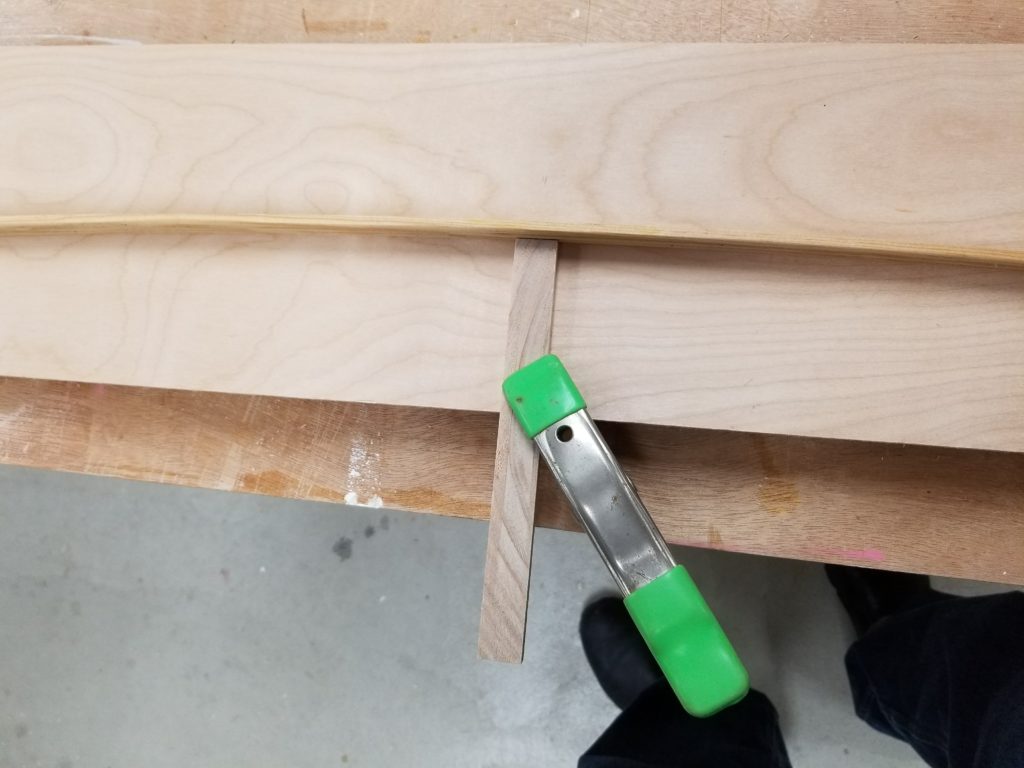
Taking the 1 x 6, I crosscut at 32 1⁄2″ , and put marks at both ends at 3 1⁄2″ (to match the 1 x 4). I placed clamps at the marks to act as pivot stops, and pressed a thin wood strip up 3⁄4″ to create a smooth, gentle curve. Trace a pencil along the curve, cut with a scroll saw, jig saw, band saw or even coping saw. Sand smooth. This piece will be the bottom rail of the toybox front.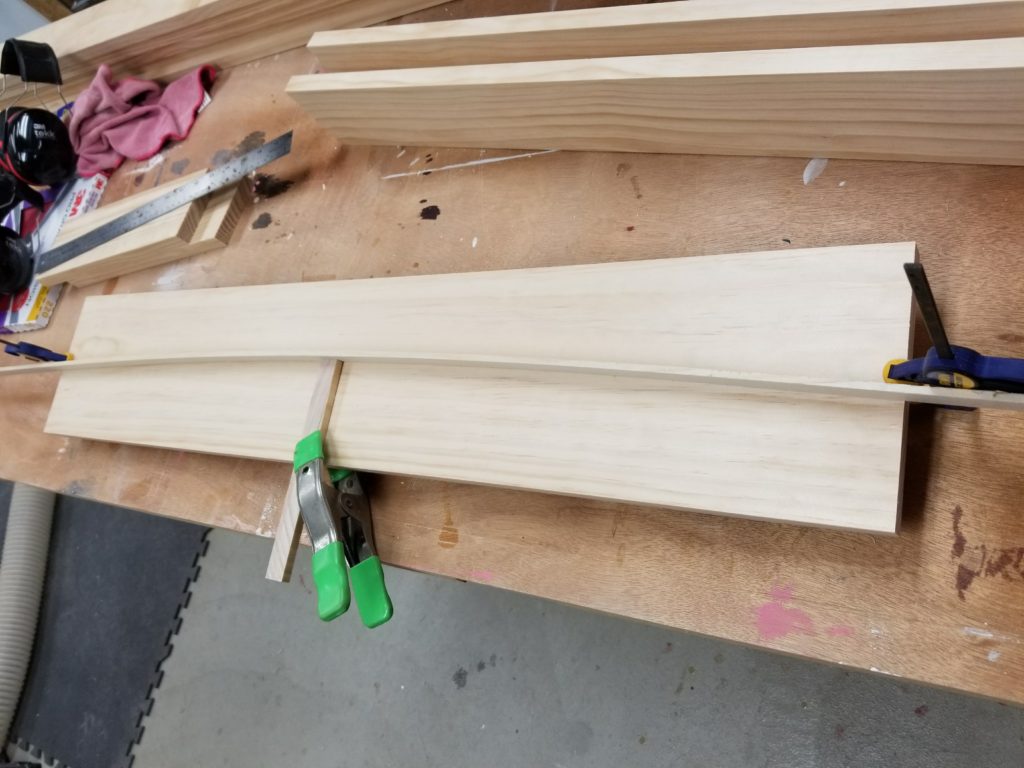
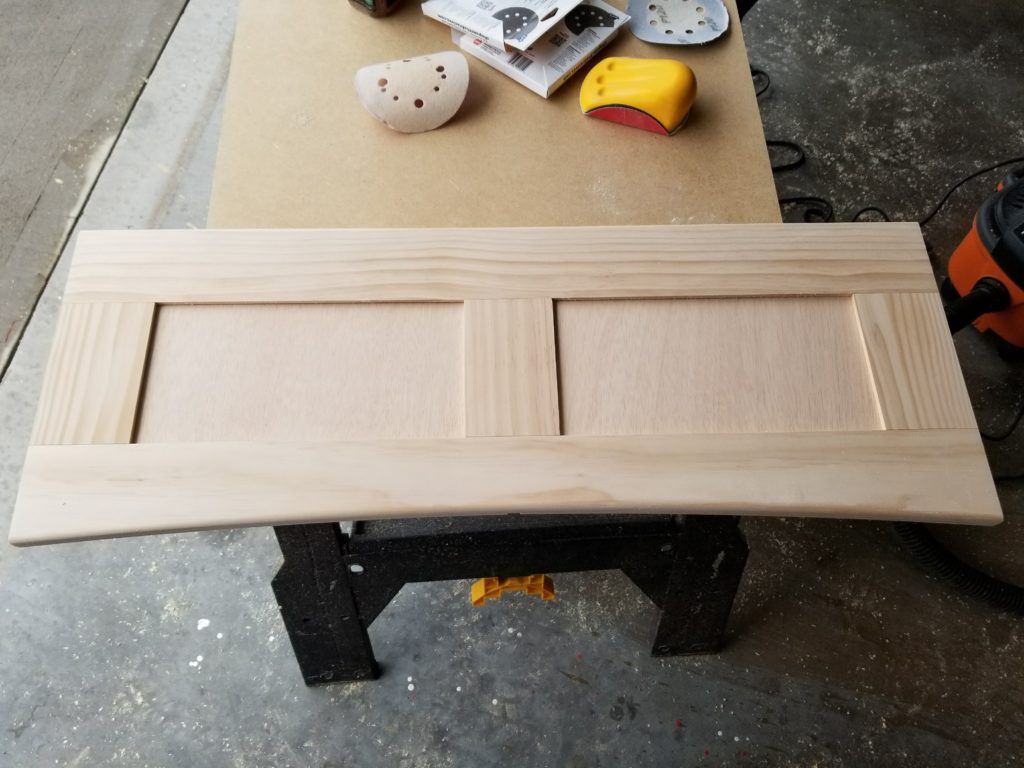
I cut another 1 x 4 at 32 1⁄2″ for the top rail, matching the bottom rail. Cross cut three 1 x 4 x 6″ pieces for the front panel stiles. Using a dado or router, make a 1⁄4″ x 1⁄4″ tongue on both ends of all three stiles. Dado in a 1⁄4″ slot on one edge of two stiles, both edges of one stile, on the bottom edge of the top stile and the top edge of the bottom stile. These dados may all run the full length, as the ends will be hidden. Dry fit all the pieces. The tongues should be loosely snug on the dados.
Cut two 6″ x 11 1⁄2″ panels and cut a 1⁄4″ rabbet all around. When installed in the rails and stiles, the outside face will be recessed 1⁄4″ , while the inside face will be flush.
Round over the front face of the bottom rail with a 1⁄4″ router bit.
Router a 1⁄2″ slot on the inside face of the front panel, centered. Stop 1″ from the top of the rail. This slot is for the center divider. Add a 3⁄4″ x 3⁄4″ x 32 1⁄2″ cleat at the bottom of the panel. This will be support for the floor.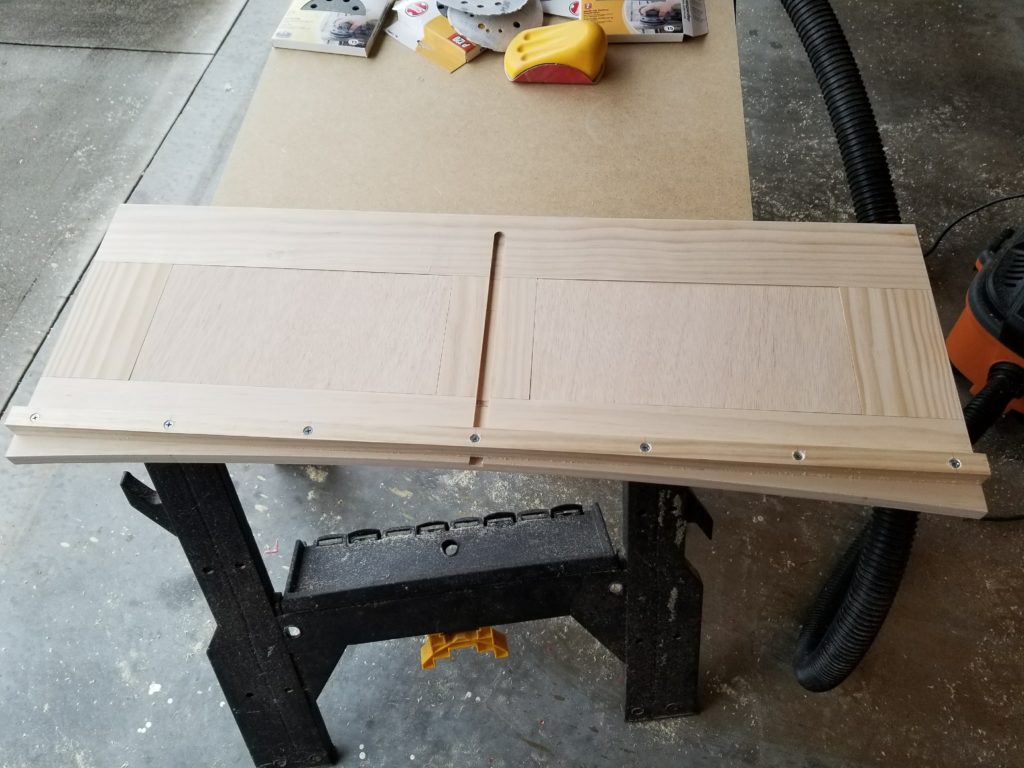
Dado a 1⁄2″ x 1⁄2″ rabbet on the back edge, inside face of both side panels. This will be for mounting the back panel. Set the front panel in place, inset from the front of the side panels 3⁄4″ and transfer the position from the front cleat to the side. Glue and screw a 3⁄4″ x 3⁄4″ x 12″ cleat for the floor on the inside face of both side pieces.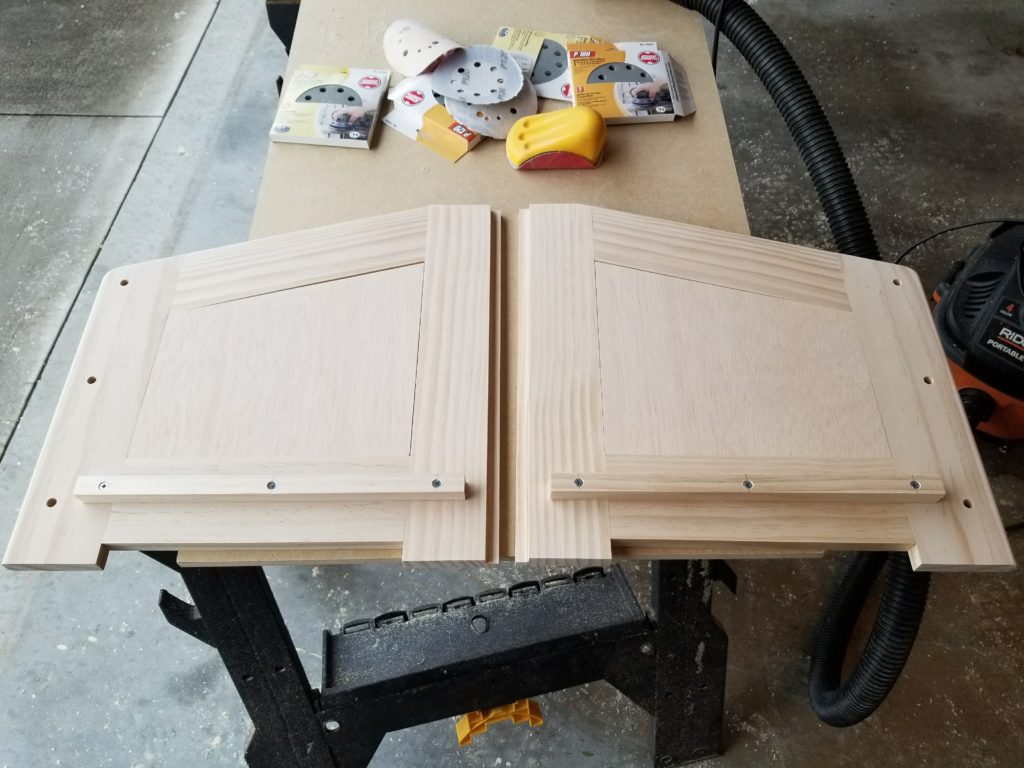
Cut a 36″ length of 1 x 6 for the top shelf. Sand the front corners to a small radius. I used 3⁄4″. Round over the ends and the front edge, top and bottom, of the shelf with a 1⁄4″ router bit.
Cut a back panel 16″ x 33 1⁄2″. Route a 1⁄2″ slot, 1⁄4″ deep in the center of the panel.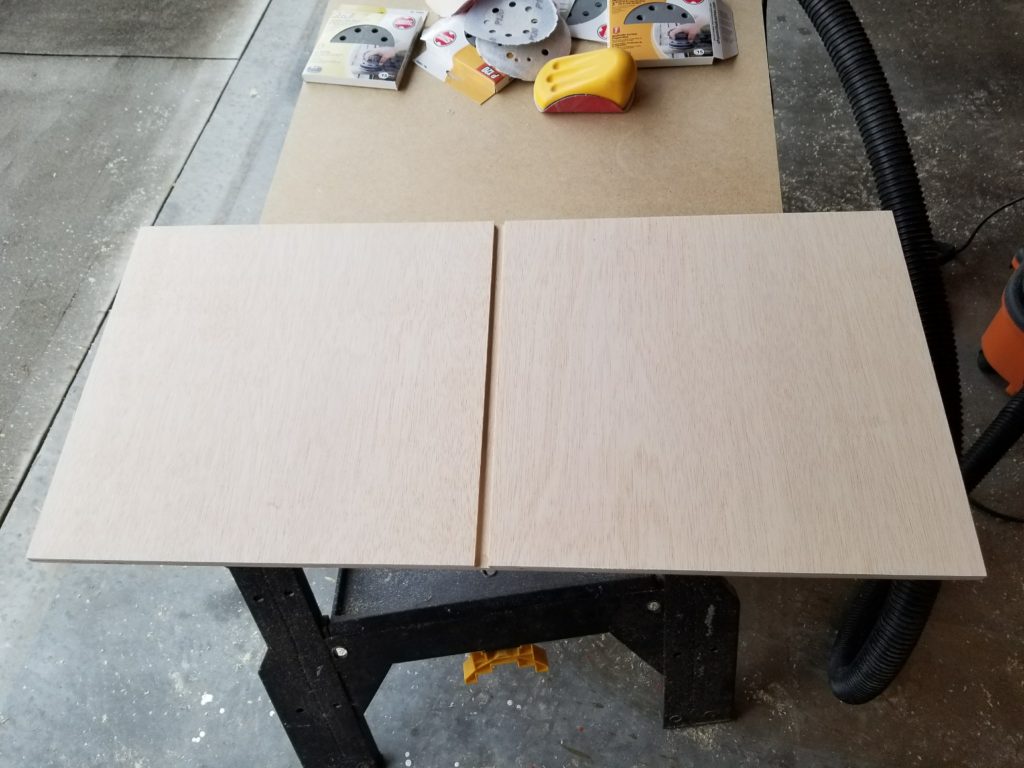
Mount a 3⁄4″ x 3⁄4″ x 32″ cleat on the inside face, bottom edge of the panel.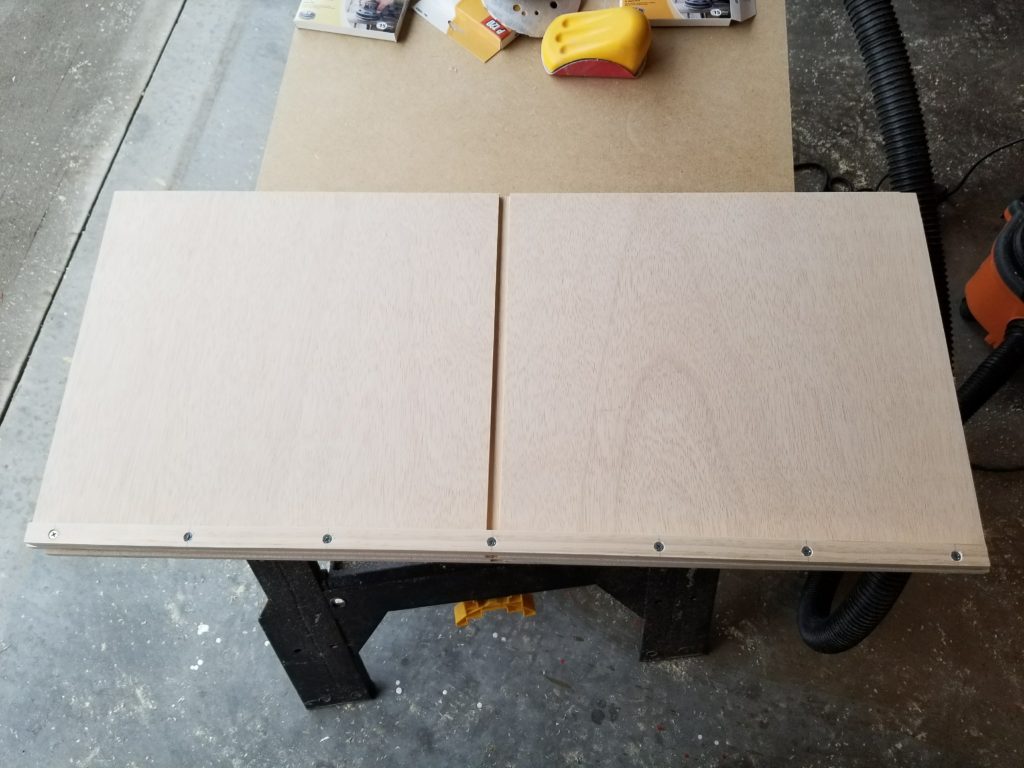
Unfortunately, I did not get pictures or sizes of the center divider. But, I sized it to fit. Dry assemble the sides, front and back. Measure the front panel fron the top of the cleat to the top of the rail. Subtract 5″. This accounts for the 1⁄2″ floor, the 3 1⁄2″ top rail to be added in a moment, and for the divider to be 1″ lower than the sides. Measure the distance from the inside front to the inside back (should be 16″) and add 1⁄2″. This is the total width of the divider. Cut a 1⁄2″ center panel this width with a 15º top angle starting at the calculated height we derived earlier.
Cut a top rail with 15º at each end to fit the width of the panel. Dado a 1⁄4″ deep, 1⁄4″ wide slot on the bottom edge of the rail. Rabbet 1⁄8″ off both sides of the top edge of the panel. This will slip into the slot of the rail. Round over both sides of the top edge of the rail, stopping 4″ from the top back end. This flat area will be out of sight under the shelf. Next, rabbet the two ends of the rail with a 1⁄4″ x 1⁄4″ rabbet on both sides. the assembled divider should now be 1⁄2″ thick from top to bottom at both ends. A small amount of this tounge will need to be carefully ftrimmed off so the divider will seat in the routed slots in the front and back panels.
I then used a doweling jig to put three 1⁄4″ dowels into the ends of the front panel, then dowel centers to mark the matching location on the side panels. Drilled and glued the front panel dowels into the side panels. If you do not mind exposed screws, you could predrill and screw the side panels to the front panel. You could also counterbore and recess the screw and add a cap/plug.
Use the doweling jig to put two dowels on the top of the side panels back leg. We’ll use the centers during final assembly to mark the bottom of the shelf.
Add the 32 1⁄2″ x 16″ floor. Glue and tack in place with a few brads on the sides and front. Add glue and insert the center divider into the slot on the front panel.
Add glue to the slot on the back panel and slip it into place. It should fit into the rabbetts on the side panels. Check the the top edge is flush with the top of the side panels.
Set the shelf in place, no glue or dowels. Find one of the wedges we saved when trimming the legs at the start. We’re going to glue it in place on the top of the divider rail. Determine it orientation, add a little glue to the bottom of the wedge. Slide the wedge into place on the divider until it touches the bottom of the shelf. Tape in place until dry.
Finally, lift off the shelf, add glue and dowels and add the top shelf to the top of the box.
Prime, paint and add children.

(Behr Purple Gladiola (MQ4-59) and Free Spirit (MQ4-18), color matched by Sherwin Wiliams Urethane Trim Enamel)